
30 Day Decluttering Challenge: A Calm, Room-by-Room Reset for Real Homes
Paper piles on the kitchen counter, overfilled junk drawers, clothes stacked on chairs, mixed bins under sinks. This article is a practical, step-by-step guide to a 30 day decluttering challenge designed for lived-in homes with limited time, shared spaces, and decision fatigue. It focuses on physical items in real rooms, not mindsets or lifestyle overhauls. Each section addresses a contained set of objects and locations so the work stays bounded. You are not reorganizing your entire house at once, and you are not required to discard anything aggressively. This challenge works through small, repeatable actions that resolve one clutter decision at a time. You can stop after any section without breaking the process. What follows is the first phase of the challenge, setting up the groundwork so the rest of the month does not sprawl or stall.
Starting the 30 Day Decluttering Challenge With Visible Surfaces
Kitchen counters, dining tables, coffee tables, and bathroom vanities tend to collect the same mix of objects: mail, bags, cups, chargers, half-used products. This part of the 30 day decluttering challenge is a how-to for clearing only visible flat surfaces. Not drawers. Not cabinets. Only what you can see while standing in the room.
Start with one surface at a time. Remove everything from that surface and place it directly onto the floor or a nearby chair. Wipe the surface quickly. Then pick up each item and make one decision: does this object live on this surface, live somewhere else, or have no home right now. Items that truly belong on the surface go back. Items with a clear home elsewhere get moved immediately. Items without a home go into a small, temporary holding pile.
Do not sort that holding pile further. The goal here is visibility relief, not total resolution. If multiple rooms share this problem, repeat the same steps room by room, stopping when time runs out. Ten minutes is enough.
Once the surfaces are clear, stop. You have completed today’s task. You do not need to tackle drawers underneath or question why clutter built up. This step is finished when surfaces are usable again.
Tackling Drawers That Jam, Stick, or Won’t Close
Drawers that won’t open smoothly or refuse to close are a specific category of clutter. This section of the 30 day decluttering challenge is a practical guide for addressing only those drawers. Ignore drawers that work fine. Focus on the ones that catch, bulge, or require force.
Open one problem drawer and remove everything. Place the contents on a towel or table so small items don’t scatter. Look at the empty drawer first. If the drawer itself is damaged, swollen, or off-track, note that and move on. This challenge does not include repairs.
Next, return only items that clearly belong in that drawer and are used for the same purpose. For example, a kitchen utensil drawer holds cooking tools, not batteries or coupons. As you place items back, stop when the drawer reaches about 80 percent full. The remaining items stay out.
Those extra items are not decisions you need to solve now. Place them in a temporary container labeled “from drawer.” Close the drawer. If it opens and closes easily, the task is complete.
Repeat with one more drawer if time allows. Otherwise, stop. A single functional drawer is enough progress for today. This step ends when at least one drawer works without resistance.
Working Through Overfilled Bags, Totes, and Backpacks
Reusable shopping bags, tote bags, gym bags, backpacks, and purses often become mobile clutter storage. This part of the 30 day decluttering challenge addresses only bags that are not in active daily use. It is a how-to focused on emptying, not organizing.
Gather all unused bags from closets, hooks, cars, and entryways. Choose one bag and empty it completely. Lay everything out so you can see duplicates and forgotten items. Trash obvious waste. Return borrowed items or items with a clear home immediately.
Now decide the purpose of that bag. If it is meant for groceries, only grocery-related items go back in. If it is a travel bag, pack only essentials that belong there long-term. If the bag has no clear purpose and is rarely used, leave it empty for now.
Once the bag is empty or lightly repacked, choose a single storage spot for it. Stack similar bags together. Do not spread them across rooms.
Repeat with one more bag if energy allows. If not, stop. You are not required to decide how many bags you should own. This step is complete when at least one bag is no longer storing random items.
Clearing Bathroom Counters and Under-Sink Zones Separately
Bathroom clutter often combines daily-use items with backups, expired products, and half-used containers. This section of the 30 day decluttering challenge is a step-by-step approach that separates counters from under-sink storage so the task stays contained.
Start with the counter only. Remove everything except items used every single day, such as a toothbrush or soap dispenser. Group like items together. Toss empty containers and obvious trash. Return only daily-use items to the counter, spacing them so wiping is easy.
Once the counter is done, stop briefly. The counter portion is complete.
If time remains, move to the under-sink area. Pull everything out and place it on the floor. Check for leaks or water damage first. If present, note it and continue without fixing.
Group items by type: cleaning supplies, backups, personal care. Discard expired products if you are comfortable doing so. Return items in groups, keeping the front area clear so nothing presses against the door.
Leave any overflow out in a small box labeled “bathroom extras.” You do not need to solve storage today. This step ends when the counter is clear and the cabinet closes easily.
Managing Paper Piles Without Sorting Everything
Mail stacks, school papers, receipts, and forms often create the most avoidance. This part of the 30 day decluttering challenge is a how-to for reducing paper volume without full sorting or filing.
Gather all loose paper from one room only. Do not collect from the entire house. Place the stack on a clear surface. Stand or sit comfortably; this should not feel like a long session.
Quickly remove obvious trash: envelopes, flyers, duplicates, outdated notices. Do not read closely. Next, pull out time-sensitive items such as bills or forms with deadlines and place them in a visible spot.
Everything else goes into one container labeled “paper to review.” That is the only category needed today. Do not create multiple piles.
Choose one designated spot for that container, such as a shelf or drawer. Place it there. The paper is now contained.
Stop. You are done with paper for today. You are not behind, and you do not need to file or scan anything yet. This step is complete when loose paper is off surfaces and gathered into a single, named place.

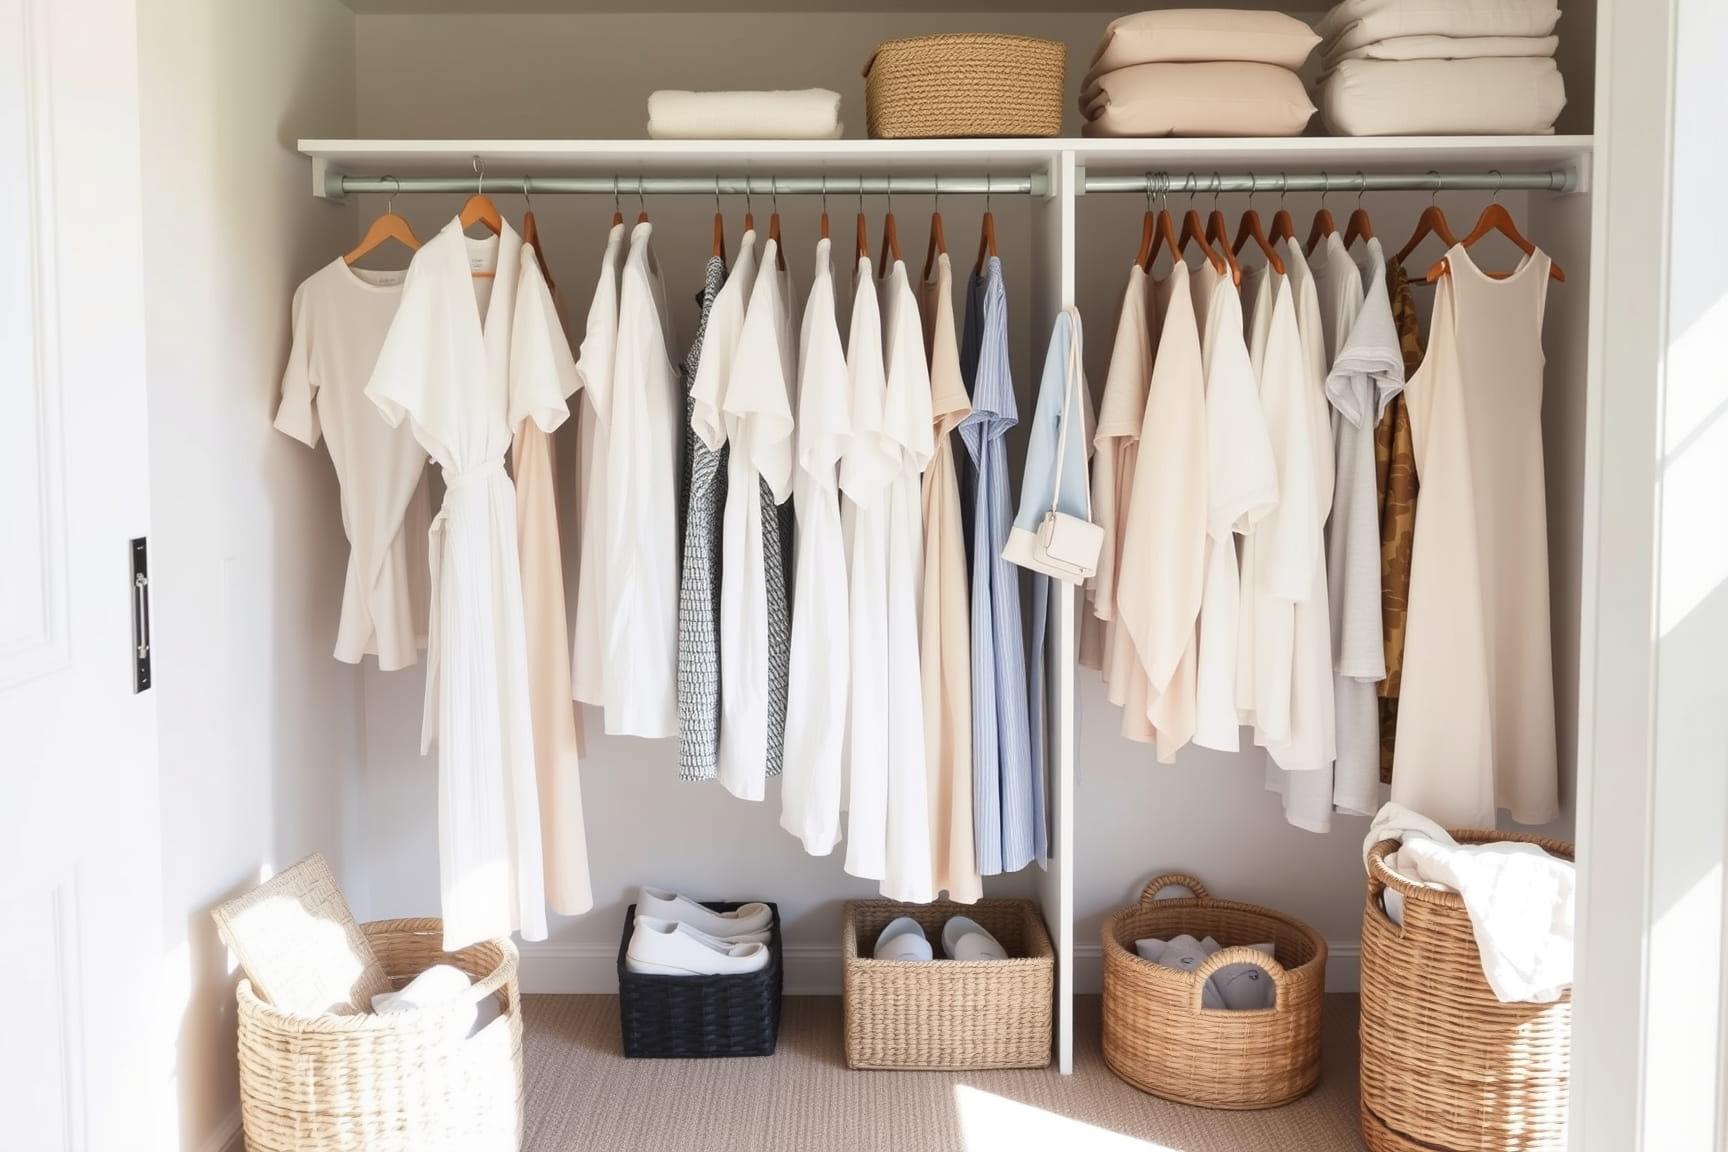
Sorting Clothing That Never Makes It Back Into Rotation
Closet rods packed tight, drawers that won’t close, clothes folded but never worn. This section of the 30 day decluttering challenge is a practical guide for addressing clothing that stays clean and untouched. It does not cover sentimental items or seasonal swaps. The scope is daily clothing you already own and rarely reach for.
Start with one category only: tops, pants, or pajamas. Pull that category from the closet and drawers and place it on the bed. Do not include coats, special-occasion outfits, or workout gear unless they fall into daily wear.
Pick up each item and ask one question: have I worn this in the last year without forcing myself to? If yes, keep it. If no, place it in a separate pile. Do not justify or explain. Neutral decisions move faster.
Once finished, return the keep pile to the closet or drawer, spacing items so they can be seen. Fold loosely. Hang with room between hangers.
The not-worn pile does not require immediate donation. Place it in a labeled bag or bin and store it out of the main clothing area. If you later need something from it, you can retrieve it.
Stop here. You are not reorganizing the closet. This step is complete when daily clothing reflects what you actually wear.
Addressing Kitchen Cabinets That Hide Forgotten Food
Upper cabinets and deep shelves often hold expired food, duplicates, and items pushed to the back. This part of the 30 day decluttering challenge is a how-to focused on one cabinet at a time. It does not include pantries or full kitchen resets.
Choose a single cabinet. Remove everything and place items on the counter. Wipe the shelf quickly. Group items by type: canned goods, baking items, snacks, spices.
Check expiration dates only if visible. Toss items clearly expired or stale. If you hesitate, place them in a “check later” group instead of deciding now.
Return items by grouping, placing frequently used items at eye level and less-used items higher or lower. Stop when the cabinet is about 85 percent full. The remaining items stay out.
Those extra items can move to another cabinet later or remain in a temporary box. Do not reshuffle the whole kitchen to make them fit.
Close the cabinet. If it opens easily and contents are visible, the task is done. You do not need to continue with additional cabinets today.
Clearing the Catch-All Area Everyone Avoids
Every home has a catch-all zone: a chair, a corner, a shelf, or a section of the floor where unrelated items accumulate. This section of the 30 day decluttering challenge provides a contained approach to that single area only.
Stand in front of the space and remove everything. Place items nearby so the area is completely empty. This visual reset matters.
Now pick up each item and assign it to one of four categories: belongs elsewhere, trash, donate, or unsure. Move items that belong elsewhere immediately. Trash goes out right away. Donation items go into a bag that leaves the room.
The unsure items get one container. Limit this container to what fits comfortably. If it overflows, stop adding.
Once items are cleared, decide the future role of that space. If it remains empty, leave it empty. If it needs a function, return only items that match that function.
Stop when the area is clear and defined. You are not required to eliminate catch-all spaces entirely. This step is complete when the space no longer collects random items by default.
Organizing Shared Spaces Without Negotiating Everything
Shared spaces like living rooms, hallways, or family closets often stall decluttering because of shared ownership. This part of the 30 day decluttering challenge is a how-to for working within shared limits without discussion or conflict.
Choose one shared surface or storage area. Do not expand beyond it. Remove everything and separate items by owner if possible.
Return neutral, shared-use items first: remotes, blankets, books currently in use. Space them loosely so the area does not feel crowded.
For personal items belonging to others, place them in a small container labeled with the person’s name. Do not sort or decide for them. Place the container in an agreed-upon spot or leave it visible.
Your own items get returned only if they clearly belong in that space. Otherwise, move them out.
Stop once the space functions again. You are not resolving ownership debates. This step ends when shared areas are usable without requiring agreement on every item.
Managing Storage Bins That Became Mystery Boxes
Plastic bins, baskets, and boxes often start organized and end up mixed and forgotten. This section of the 30 day decluttering challenge is a step-by-step guide for opening one mystery container without spiraling into a full storage overhaul.
Choose one bin. Open it and remove everything. Lay items out so contents are visible. Notice what the bin actually holds, not what it was supposed to hold.
Group items by similarity. Discard broken or unusable items if comfortable doing so. Then decide the bin’s true category based on what remains.
Return only items that fit that category. Stop when the bin is not packed tightly. If items do not fit, leave them out in a temporary pile labeled “from bin.”
Relabel the bin clearly if needed. Place it back where it was or in a spot that matches its contents.
Stop. You do not need to open more bins today. This step is complete when one container is no longer a surprise.

Resetting the Entryway Without Creating a New System
Shoes piled by the door, coats on chairs, bags dropped wherever there is space. This section of the 30 day decluttering challenge is a how-to for stabilizing the entryway as it exists. It does not require buying organizers or changing traffic patterns.
Start by removing everything from the immediate entry zone: floor, hooks, bench, and nearby surfaces. Place items just outside the area so the space is fully visible. Sweep or wipe quickly.
Decide what truly needs to live in the entryway for daily use. Limit this to current-season shoes, one everyday coat per person, and the bag used most often. Return those items first, spacing them so nothing stacks on top of something else.
Everything else gets moved out of the entryway. Off-season items go to closets. Extra shoes go to bedrooms or storage. Items without a home go into a temporary bin labeled “entry overflow.”
Do not try to make everything fit back in. An entryway that holds less works better.
Once returned items fit comfortably and the floor is clear, stop. You are not designing the perfect drop zone. This step is complete when the door opens fully and you can step inside without navigating around objects.
Handling Bedroom Surfaces That Collect Nighttime Clutter
Nightstands, dressers, and bedroom chairs often collect a specific mix: books, cups, chargers, clothes, personal items. This part of the 30 day decluttering challenge is a practical guide for clearing bedroom surfaces only. Closets and drawers are not included.
Choose one surface. Remove everything and wipe it down. Return only items that support the surface’s purpose. For a nightstand, that might be a lamp, a book, and a charging cable. For a dresser, minimal daily-use items.
Clothing that landed there gets addressed next. Decide whether each piece is clean or dirty. Dirty clothes go to the hamper. Clean clothes get folded or hung immediately, even if imperfectly.
Small personal items without a clear home go into a shallow container or tray. Limit what fits. When the tray is full, stop adding.
Leave the surface slightly under-filled. Empty space matters here.
If there are multiple surfaces, repeat with just one more if time allows. Otherwise, stop. This step ends when at least one bedroom surface stays clear overnight.
Reducing Duplicates in One Everyday Category
Duplicate items quietly create crowding: multiple scissors, extra water bottles, three measuring cups. This section of the 30 day decluttering challenge is a how-to focused on one everyday category only.
Choose a category you use often and can identify easily. Gather all items in that category from around the house and place them in one spot.
Lay them out so you can see everything at once. Test condition quickly. Broken or unusable items can go. Then decide how many you realistically use. Keep the best versions.
Return kept items to a single storage location. Do not spread them back out.
Extra usable items can be donated, stored elsewhere, or placed in a labeled backup container. You do not need to decide their final fate today.
Stop when the category fits comfortably in one place and is easy to access. You are not minimizing aggressively. This step is complete when you no longer have to search for that item.
Clearing Digital-Physical Clutter Hybrids
Some clutter sits between physical and digital: printed instructions, old manuals, CDs, cables. This part of the 30 day decluttering challenge is a step-by-step approach to one small hybrid group.
Choose one type, such as instruction manuals or cords. Gather only that type. Place everything on a table.
Remove obvious trash first. Then check for relevance. Manuals for items you no longer own can go. Cables that don’t match anything recognizable go into an “unknown” pile.
Keep current, relevant items and store them together in one labeled folder or bag. Unknown items get stored separately for now.
Do not research or test today. The goal is containment, not certainty.
Stop once the group is reduced and labeled. This step ends when you can locate what you need without digging through unrelated items.
Creating a Maintenance Pause Instead of Pushing Forward
By this point in the 30 day decluttering challenge, several areas have been addressed. This section is a how-to for pausing intentionally so progress doesn’t undo itself.
Walk through the spaces you’ve touched. Notice what feels lighter or easier to use. Put away any items left out from recent steps.
Choose one small habit to support what you’ve cleared, such as resetting a surface each evening or emptying one bin weekly. Keep it minimal.
Do not start a new area today. Maintenance is the task.
If you have extra time, repeat one completed step lightly rather than expanding scope.
Stop here. This pause is part of the challenge, not a break from it. The step is complete when cleared areas remain usable without extra effort.