
Decluttering Checklist for Real Homes: A Room-by-Room Guide That Starts With What’s Already in Front of You
Kitchen counters crowded with mail, drawers jammed with mismatched utensils, bedroom floors holding laundry piles that never quite make it to a closet—this article is a practical decluttering checklist designed for those exact, everyday states. This is a how-to guide, not a mindset reset or a total-home overhaul. It focuses on visible household areas and common items you can touch, move, and decide on in short bursts of time.
The scope here is intentionally limited. This checklist covers physical household clutter only: surfaces, drawers, shelves, and containers that have become mixed or overfilled. It does not cover digital clutter, deep storage, or sentimental item sorting. The guidance assumes limited time, shared space, and decision fatigue. Each section addresses one concrete area and one set of decisions so you can stop at any point without losing progress.
Use this decluttering checklist as a reference, not a marathon plan. Each section stands on its own.
Starting With Flat Surfaces That Collect Everything
Kitchen counters, dining tables, coffee tables, and entryway consoles tend to collect the same mix of items: papers, cups, bags, tools, chargers, and objects with no clear home. This section of the decluttering checklist focuses only on clearing one flat surface at a time, not the entire room.
Begin by clearing the surface completely. Move everything onto the nearest open floor space or chair. This temporary pile is not for sorting into categories yet; it simply exposes the surface so you can reset it. Wipe the surface quickly. This signals a stopping point later.
Next, return only the items that must live on that surface to function daily. A coffee maker stays on the counter. A mail pile does not. Keep this decision narrow: ask whether the item is used there every day or almost every day. If the answer is no, it does not return.
Everything left gets handled in three directions: trash, elsewhere, or undecided. Trash is immediate. Items that belong in another room are placed into a single carry pile. Undecided items go into a small container or bag with a clear boundary—no larger than what you can carry with one hand.
Stop once the surface is clear and functional. You do not need to resolve the carry pile now. This section is complete when the surface stays usable.
Working Through One Drawer Without Emptying the Room
Overstuffed drawers—junk drawers, bathroom drawers, desk drawers—often stop progress because they feel endless. This part of the decluttering checklist is limited to a single drawer and one decision cycle.
Pull the drawer out as far as it will go. If it’s removable, take it out and place it on a counter or table. Remove everything and group items loosely by type directly on the surface: tools together, papers together, small loose items together. No fine sorting yet.
Discard obvious trash first. Broken items, dried-out pens, packaging, and instruction slips for things you no longer own leave immediately. This reduces volume without effort.
Next, choose a single purpose for the drawer. Not a category system—just one sentence. For example: “This drawer holds everyday tools,” or “This drawer supports morning routines.” If an item does not support that purpose, it leaves the drawer.
Return items starting with the largest or most-used pieces. Stop when the drawer closes easily without pushing. Anything left over becomes overflow and must live elsewhere or be released.
Do not reorganize nearby drawers. This checklist item ends when one drawer opens and closes smoothly and contains only what it’s meant to support.
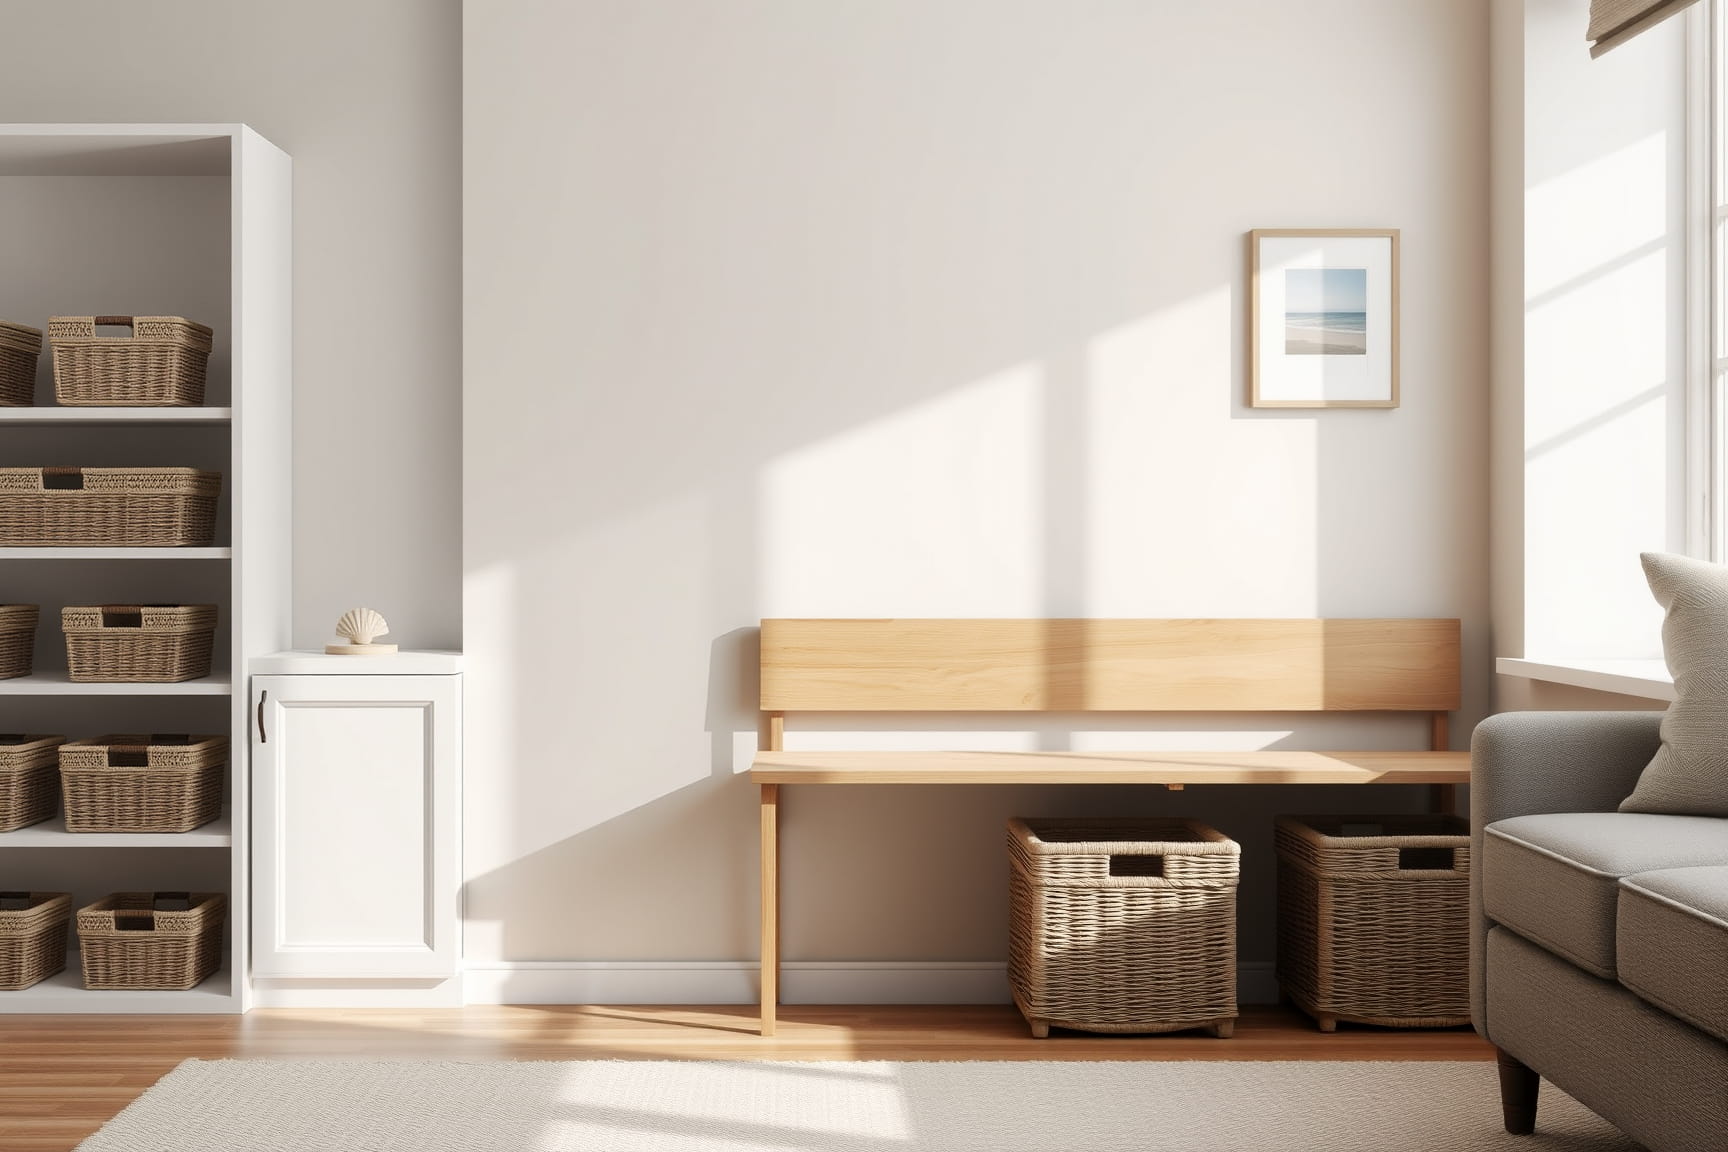
Addressing Open Shelves Without Reorganizing Storage
Open shelves in kitchens, bathrooms, and living areas show clutter faster than closed storage. This decluttering checklist step deals only with what is visible on one shelf unit, not the cabinets or closets nearby.
Start at eye level. Remove every item from that single shelf and set them aside. Wipe the shelf quickly. Then return only items that are used regularly and belong in that room. Decorative items count only if they are intentional and limited.
Avoid stacking like items unless they are designed to nest. Visual clutter often comes from vertical piles that tip and spread. If something requires stacking to fit, it likely does not belong on open shelving.
Group similar items loosely, leaving visible space between groups. Space is part of the function here; it allows the shelf to stay stable over time.
If items do not fit comfortably once returned, reduce the number until they do. Excess items are not failures—they simply need a different home or release.
Stop after completing one shelf level. Do not continue upward unless you want to. One clear shelf is a finished task.
Sorting Paper Piles Without Filing Everything
Paper clutter shows up as stacks on counters, desks, and floors. This decluttering checklist section is not about creating a filing system. It’s about stopping the spread.
Gather one paper pile only. Place it on a clear surface. Stand while sorting to keep momentum short.
Create three temporary piles: action, reference, and discard. Discard includes junk mail, expired notices, and duplicates. Action includes items that require a response, payment, or decision. Reference includes documents you reasonably need to keep.
Limit the reference pile by asking whether the paper must be kept in physical form. If not, release it. Do not digitize during this step.
Place the action pile into a single folder or tray labeled “To Handle.” This label matters—it prevents re-sorting. Reference papers go into one container, even if messy.
Stop once the original pile is gone. You are not required to act on the action papers today. This step ends when paper is contained and no longer spread out.
Clearing Floor Clutter That Blocks Movement
Floors collect bags, shoes, boxes, and laundry because they are the largest available surface. This decluttering checklist item focuses only on restoring clear walking paths, not perfect floors.
Start with one path: doorway to bed, couch to kitchen, or entry to closet. Remove everything from that strip of floor and place items nearby.
Return only items that must live on the floor, such as large furniture or pet bowls. Everything else is reassigned upward—to hooks, shelves, baskets, or hampers.
Shoes get limited to what fits in their intended spot. Bags get hung or stored, not stacked. Laundry goes into one container, even if it overfills slightly.
If something has no home, assign a temporary one rather than stopping. Temporary homes are allowed in this checklist.
This step is complete when you can walk the path without stepping over anything. The rest of the floor can wait.

Managing Clothing That Lives Outside the Closet
Clothing piles tend to form on chairs, the end of the bed, exercise equipment, or the floor beside the hamper. This section of the decluttering checklist addresses only clothing that is not currently stored where it belongs. Closets themselves are not part of this step.
Gather all stray clothing from one room only. Place it on the bed or another clear surface so you can see the full volume. Do not pull items from drawers or closets to compare. The goal is containment, not evaluation.
Sort the pile into four quick groups: clean and wearable, dirty, needs repair, and uncertain. Dirty clothes go directly into the hamper or laundry area. Do not start a load unless that was already planned.
Clean and wearable items get returned immediately to their proper storage location. If the closet or drawer is too full to accept them, remove an equal number of items and set those aside as overflow. Overflow does not go back onto the floor.
Repair items must be limited. Choose no more than one small bag or basket. If it does not fit, reduce the number. Uncertain items get folded and placed together temporarily, not rehung individually.
This checklist item ends when the room no longer has clothing resting on furniture or floors. You are not required to decide what to keep long-term.
Decluttering Bathroom Storage Without Replacing Products
Bathroom counters, drawers, and cabinets often hold duplicates, expired products, and half-used containers. This decluttering checklist section focuses on one bathroom zone—counter, drawer, or cabinet—never all three at once.
Empty the chosen zone completely. Place items on a towel so spills are contained. Wipe the space quickly before returning anything.
Discard expired medications, empty containers, dried-out cosmetics, and products you actively avoid using. These are low-decision removals and reduce volume fast.
Next, limit duplicates. Keep one open product per category in that space: one shampoo, one face wash, one toothpaste. Backups can be stored elsewhere but not returned to this zone.
Return daily-use items first, spacing them so each is visible without stacking. Items used weekly or less often return only if space allows without crowding.
Stop when the zone closes easily or the counter stays clear enough to wipe without moving items. Do not reorganize under the sink unless it was the chosen zone. Completion here is about function, not symmetry.
Containing Entryway Clutter at the Point of Arrival
Shoes by the door, mail on a console, bags leaning against the wall—entryways absorb clutter because they sit between inside and outside. This decluttering checklist step addresses only what enters and exits daily.
Clear the entry surface or floor area completely. This creates a reset moment and reveals how much space you actually have.
Define three limits: number of shoes allowed, number of bags allowed, and one container for paper. The limits should match the physical space, not ideal habits.
Return only shoes worn regularly. Seasonal or rarely worn pairs move elsewhere. Bags get hooks, bins, or one shelf—no stacking. Paper goes into a single tray or folder labeled clearly.
Keys, wallets, and sunglasses get one small landing spot. If there is no space, remove something else rather than expanding.
This step is complete when the entryway supports coming and going without moving piles. It does not require decorative changes or storage purchases.
Sorting Kitchen Cabinets That Don’t Close Easily
Kitchen cabinets that resist closing usually contain items used rarely or stored without boundaries. This decluttering checklist section is limited to one cabinet, not an entire wall.
Empty the cabinet completely and group items by rough type on the counter. Discard broken tools, chipped dishes, and items you no longer cook with.
Decide the cabinet’s purpose in one sentence, such as “everyday dishes” or “baking supplies.” Anything that does not support that purpose leaves the cabinet.
Return items by frequency of use. Daily items go within easy reach. Occasional items go higher or toward the back, but only if the door closes without pressure.
Avoid stacking beyond two layers. If items require careful balancing, there are too many.
Stop when the cabinet closes easily and items can be removed without rearranging others. Adjacent cabinets are not part of this step.
Reducing Miscellaneous Bins Without Sorting Everything
Plastic bins, baskets, and boxes labeled “miscellaneous” often hide delayed decisions. This decluttering checklist item deals with one such container only.
Empty the bin onto a clear surface. Group items loosely by similarity, but do not create subcategories. Trash goes first.
Choose a single theme for what stays in the bin, such as tools, cords, or household extras. Return only items that clearly fit.
If the bin fills before all chosen items are returned, stop. Excess items must leave the bin. They can be reassigned or released, but they do not go back in.
Relabel the bin with its actual contents, not a vague label. This reduces future dumping.
This step is complete when the bin holds fewer items, closes easily, and no longer functions as a hiding place.
Handling Overflow From Recently Decluttered Areas
As you work through a decluttering checklist, overflow appears. These are items removed from drawers, shelves, or surfaces that no longer fit but haven’t been decided on yet. This section is about containing that overflow so it doesn’t undo earlier progress.
Designate one temporary holding zone: a box, laundry basket, or tote. It must be movable and finite. Place all overflow items there immediately instead of spreading them across rooms.
Do not sort the contents yet. The purpose of this step is isolation, not resolution. Overflow that stays visible tends to migrate back into cleared areas.
Label the container “Overflow — To Place.” This prevents it from becoming a permanent miscellaneous bin. Keep it out of main living areas if possible, such as a hallway corner or closet floor.
Set a physical limit: when the container is full, no more overflow is allowed. At that point, the next item removed must be matched with one item released.
This checklist item is complete when overflow is fully contained and no longer sitting on surfaces or floors. You are allowed to stop here without placing anything permanently.
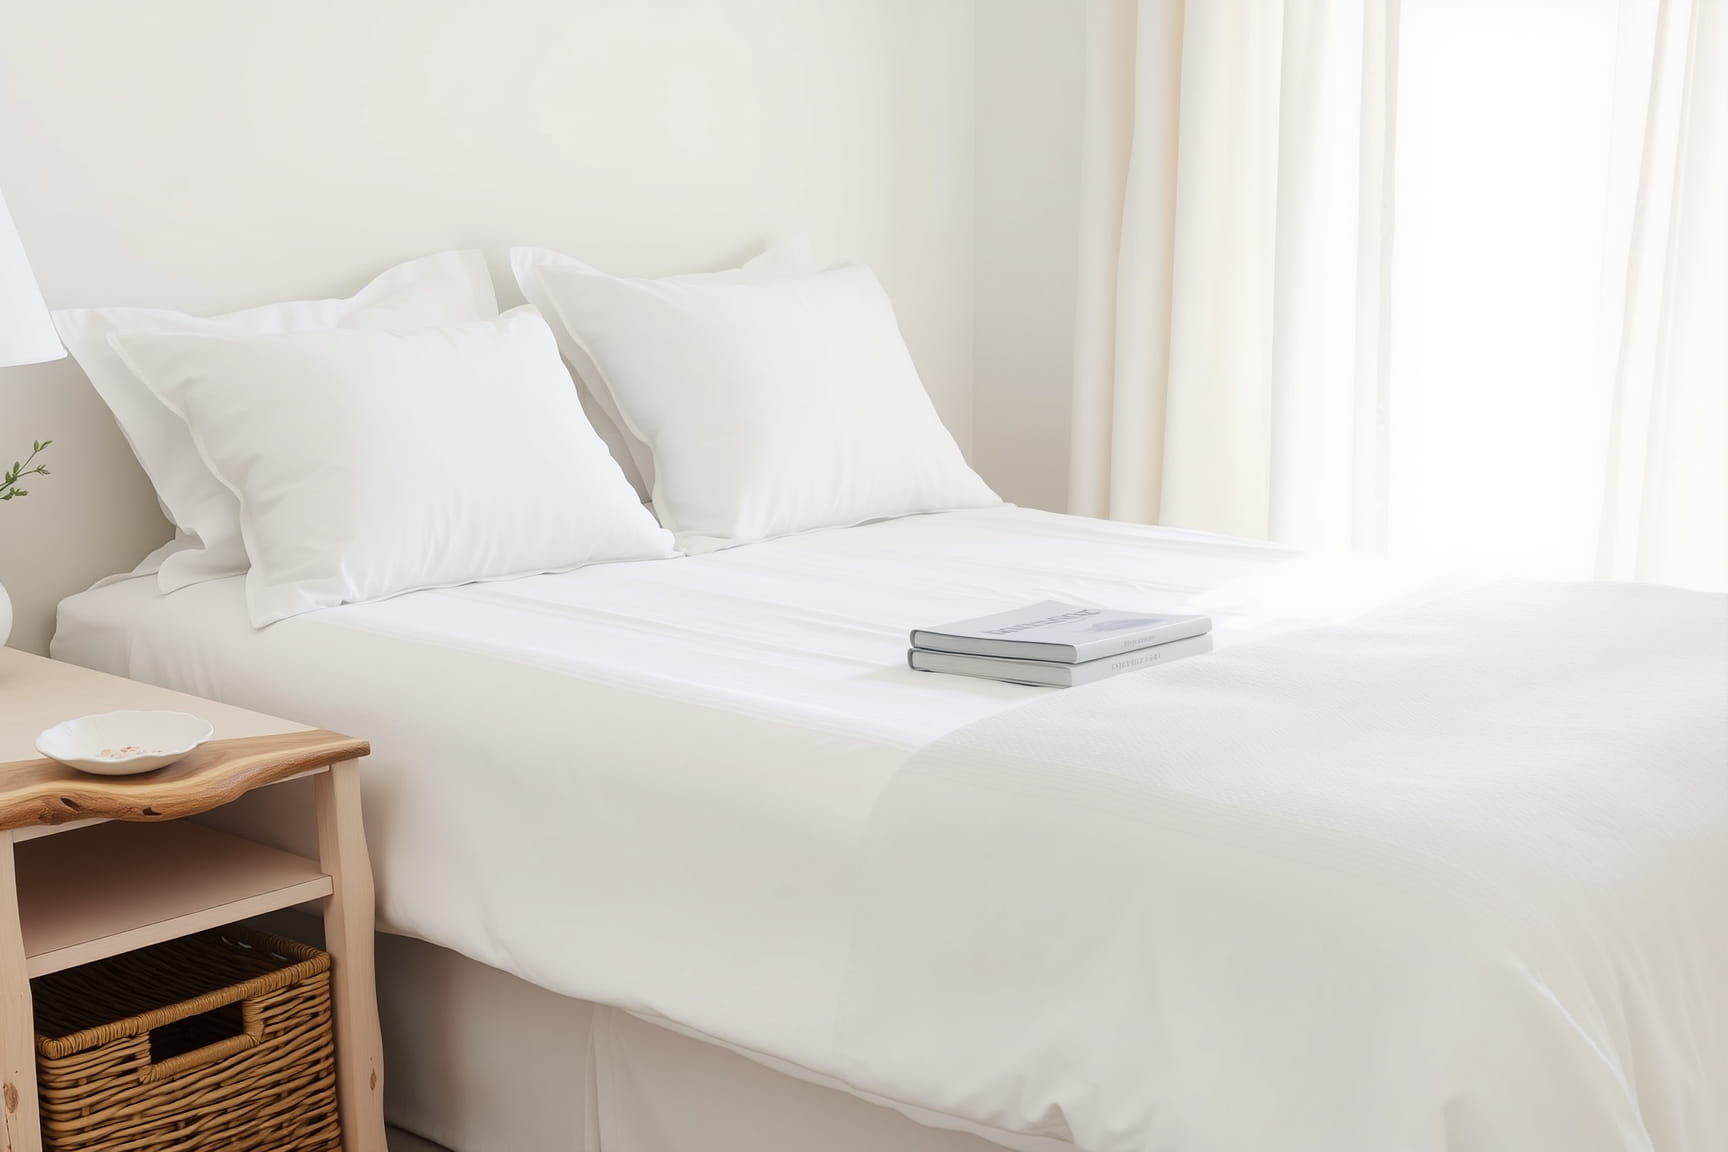
Clearing Nightstands and Bedside Areas for Function
Nightstands often collect books, cups, chargers, medications, and loose items that interrupt rest. This decluttering checklist step focuses only on the surface and drawer of one bedside table.
Remove everything and wipe the surface. Return only items that support sleeping or waking: lamp, alarm, current book, glasses, water.
Limit the surface to five items or fewer. If more are needed, use the drawer instead.
Open the drawer and discard trash, empty packaging, and items that belong elsewhere. Keep essentials only, such as lip balm, medication, or a notebook.
Avoid storing backups or unrelated items here. The bedside area should not function as general storage.
This step ends when the surface stays mostly clear and the drawer closes without resistance. The bed area should feel navigable, not styled.
Sorting Shared Spaces Without Negotiating Everything
Living rooms, family rooms, and shared offices accumulate items from multiple people. This decluttering checklist section avoids ownership disputes by focusing on neutral actions.
Choose one shared surface: coffee table, side table, or desk corner. Clear it completely and wipe it.
Return only items used communally or daily in that space, such as remotes or a shared notebook. Personal items get placed into individual piles by owner.
Deliver personal piles to designated spots or containers without sorting them. Ownership decisions are deferred.
Limit decorative items to what fits without crowding. Remove excess rather than rearranging endlessly.
This step is complete when the shared surface functions for everyone again. You are not responsible for resolving other people’s piles today.
Addressing Storage That Became Too Heavy to Lift
Boxes and bins that are hard to move usually contain forgotten items. This decluttering checklist step applies to one heavy container only.
Open the container where it sits. Remove items one handful at a time. Discard obvious trash immediately.
Choose whether the container is worth keeping based on what’s inside. If contents are no longer useful, the container goes too.
Return only items you recognize and would use again. Stop when the container reaches a manageable weight.
Do not replace items just to “fill it back up.” Space is acceptable.
This step ends when the container can be lifted safely and contains fewer, clearer items.
Rechecking One Previously Decluttered Area
As part of a realistic decluttering checklist, revisiting is expected. Choose one area you cleared earlier.
Stand back and observe without touching first. Note what crept back.
Remove anything that does not belong and place it into the overflow container.
Adjust limits slightly if needed—fewer items, more space.
Stop once the area returns to functional order. This is maintenance, not failure.
This checklist item is complete when the area looks and works the way it did after the first pass.