
Decluttering Sentimental Items: A Grounded, Step-by-Step Guide for Sorting What You Keep Without Regret
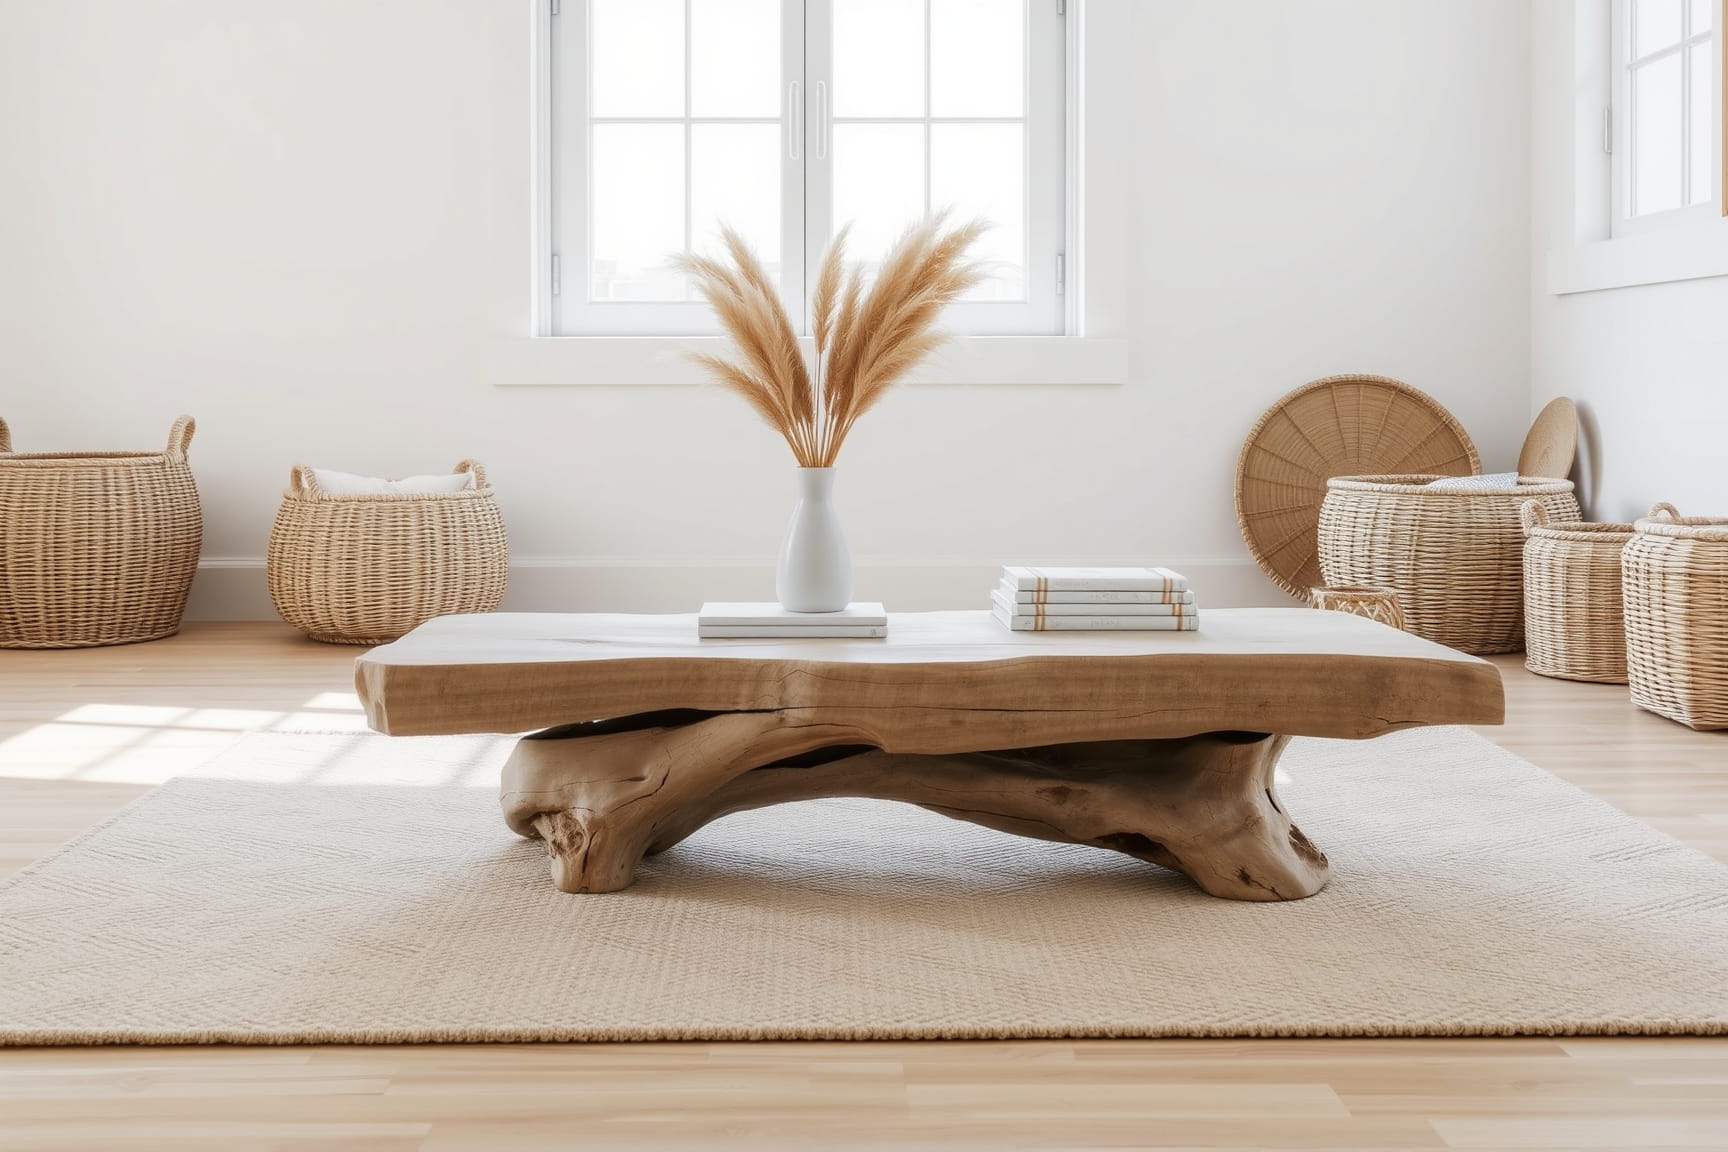
Photo boxes stacked in a closet, inherited dishes wrapped in paper under a bed, greeting cards tucked into drawers, childhood artwork folded into envelopes. This article is a practical how-to guide for decluttering sentimental items in real homes, with limited space, limited time, and a strong reluctance to discard things that feel meaningful. It focuses on physical objects only—paper keepsakes, small household items, and memory-related belongings—not digital photos, not major furniture, and not estate-level cleanouts.
The goal here is not to “let go of the past” or redefine what matters to you. The goal is to make decisions about specific items so they stop migrating between boxes, shelves, and storage bins. This guide assumes decision fatigue, shared storage space, and the very real concern that once something is gone, it cannot be replaced.
Each section resolves one concrete decision point. You can stop after any section without losing momentum. You do not need to finish everything in one pass. The process is designed to be contained, repeatable, and emotionally neutral.
You will be working with surfaces like tables, beds, or cleared floor space; containers like boxes, drawers, or bins; and objects that already exist in your home. No special supplies are required. If you have a pen and scrap paper, that is enough.
This is not about speed. It is about reducing the number of unresolved sentimental items in your home so they take up less physical and mental space.
Defining What Counts as a Sentimental Item (and What Doesn’t)
Before touching anything, narrow the category. Sentimental items are objects kept primarily for memory, not for use. Examples include letters, cards, photos, souvenirs, awards, childhood items, inherited keepsakes, and small objects tied to people or events. These items often live in mixed boxes, old bags, desk drawers, or the back of closets.
This guide does not cover practical items that happen to belong to someone else, like tools, furniture, or everyday kitchenware still in use. If you use it weekly, it is not part of this category today. Separating these groups prevents scope creep and keeps the task from expanding.
Choose one physical container to work on. One box. One drawer. One shelf segment. Place it on a clear surface. Everything discussed from this point forward applies only to what fits in that single container.
As you empty it, do not sort into dozens of piles. Use only three temporary groups on your surface:
Keep nearby.
Unsure.
Ready to leave this container.
Do not decide final storage yet. Do not decide disposal methods yet. Those decisions come later, after volume is visible.
If an item belongs to a different category entirely—documents, clothing, tools—set it aside outside the work area. That item is not part of this decision set.
Once the container is empty and everything is visible, stop. That completed state matters. You have created a clear boundary, and that is enough to proceed.
Handling Paper Memories Without Reading Every Word
Paper sentimental items create the fastest overwhelm. Cards, letters, notes, programs, certificates, and drawings often exist in stacks or bundles. The mistake here is reading everything. That turns sorting into an emotional marathon.
Instead, handle paper in batches of five to ten items. Hold each piece briefly and ask one physical question: does this item already live somewhere else in my home in a more intentional form? For example, a message already photographed, a certificate already scanned, or a photo already in an album.
If the answer is yes, place it in the “ready to leave this container” group. This does not mean throwing it away immediately. It means it does not need duplicate space.
Next, look for repetition. Multiple birthday cards from the same year. Similar notes with the same message. Choose one representative piece and release the rest from this container.
Do not reread. Do not reminisce. You are not evaluating emotional value. You are reducing physical volume.
For children’s artwork or school papers, keep the pieces that show a clear change or milestone. One per stage is enough. Flat paper stores poorly in bulk and causes re-cluttering later.
Once the paper pile is reduced by half or more, stop. Place the remaining paper in a single folder or envelope. Label it simply. That containment decision is the win for this section.
Sorting Objects Tied to People Without Ranking Relationships
Small objects tied to people—gifts, inherited items, souvenirs—often cause guilt-based paralysis. The pressure usually comes from believing that keeping more equals caring more. This section avoids that trap by changing the decision frame.
Lay the objects out where you can see them at once. Avoid handling them one by one in isolation. Visibility matters.
Group items by who they are associated with, not by type. All items from one person together. This reveals volume without judgment.
For each group, choose the one item that best represents that person to you now. Not the most expensive. Not the oldest. The one that still feels clear without explanation. Place that item in the “keep nearby” group.
Everything else from that person moves to “unsure” by default. You are not discarding yet. You are identifying the strongest representative.
If storage space is shared, limit each person’s items to what fits comfortably in one small container. When the container is full, stop adding. Capacity is the decision-maker, not emotion.
If you reach resistance, pause. Resistance often means the container is too big. Switch to a smaller one and continue.
When finished, return only the selected items to the original container or a designated keepsake box. Leave the “unsure” items aside for later review. This is a complete stopping point.
Managing Childhood Items Without Saving an Entire Era
Childhood sentimental items often exist in large boxes labeled “kids’ stuff” or “school things.” These boxes usually contain mixed ages, mixed formats, and no clear boundary. This section resolves that.
Start by choosing one age range or school stage to work on. For example, early elementary. Do not mix stages.
Spread the items out and remove anything that is purely informational: worksheets, instructions, duplicates. These go immediately into “ready to leave this container.”
Next, look for items that clearly mark growth: first attempts, clear progress, or unique expressions. Keep those. Limit yourself to what fits in a single folder or slim box for that stage.
Toys or objects that no longer function or cannot be identified without explanation do not age well in storage. Photograph them if needed, then move them out of the container.
Do not aim for fairness between children. Aim for clarity per container.
Once one age range is contained and labeled, stop. Do not move on to the next stage today unless you have time and energy. Completing one contained era is enough progress for now.
Deciding What to Do With Travel Souvenirs That No Longer Display Well
Travel souvenirs often end up scattered across shelves, tucked into drawers, or boxed after a move. Mugs you don’t use, figurines that don’t match anything else, stacks of postcards, small textiles folded and forgotten. This section focuses on deciding which souvenirs deserve space now, not on preserving proof that you went somewhere.
Gather all travel-related items from the container you’re working on and place them together. Do not sort by trip yet. First, separate flat items (postcards, brochures, tickets) from objects. Flat items are easier to contain later and shouldn’t compete with three-dimensional pieces.
For objects, ask one practical question: would I choose to display this if I encountered it today, without the travel story attached? If the answer is no, place it in “ready to leave this container.” This does not erase the memory; it removes the obligation to store an object that no longer fits your space.
Limit displayed or stored souvenirs to what fits in one visible area or one small box. When capacity is reached, stop. Capacity makes the decision neutral.
For paper souvenirs, keep only items with personal markings or handwriting. Generic brochures and maps age poorly and add bulk.
Once sorted, return only the chosen items to the container. The rest can wait. This section is complete when travel items no longer overflow their boundary.
Handling Gifts You Feel Obligated to Keep
Gifts are one of the most common sources of sentimental clutter. Candles never burned, decor that doesn’t match your home, novelty items saved out of politeness. This section addresses gifts that are not useful but feel hard to release.
Start by grouping gifts by type, not by giver. Seeing three unused frames or multiple decorative bowls clarifies volume without emotional ranking.
Next, identify which gifts are actively serving a purpose in your home. Those stay where they are and are not part of this decision. Focus only on stored or unused gifts.
For each unused gift, ask a narrow question: am I keeping this item, or am I keeping the memory of receiving it? If it’s the memory, the object does not need to stay.
You do not need to replace it with gratitude. The gratitude already happened.
Choose one or two gifts that genuinely suit your space and lifestyle. Those become your representatives. Everything else moves to “ready to leave this container.”
Do not justify the choice. Do not imagine the giver’s reaction. You are managing storage, not relationships.
Once the remaining gifts fit comfortably in the container, stop. That containment is the endpoint for this section.
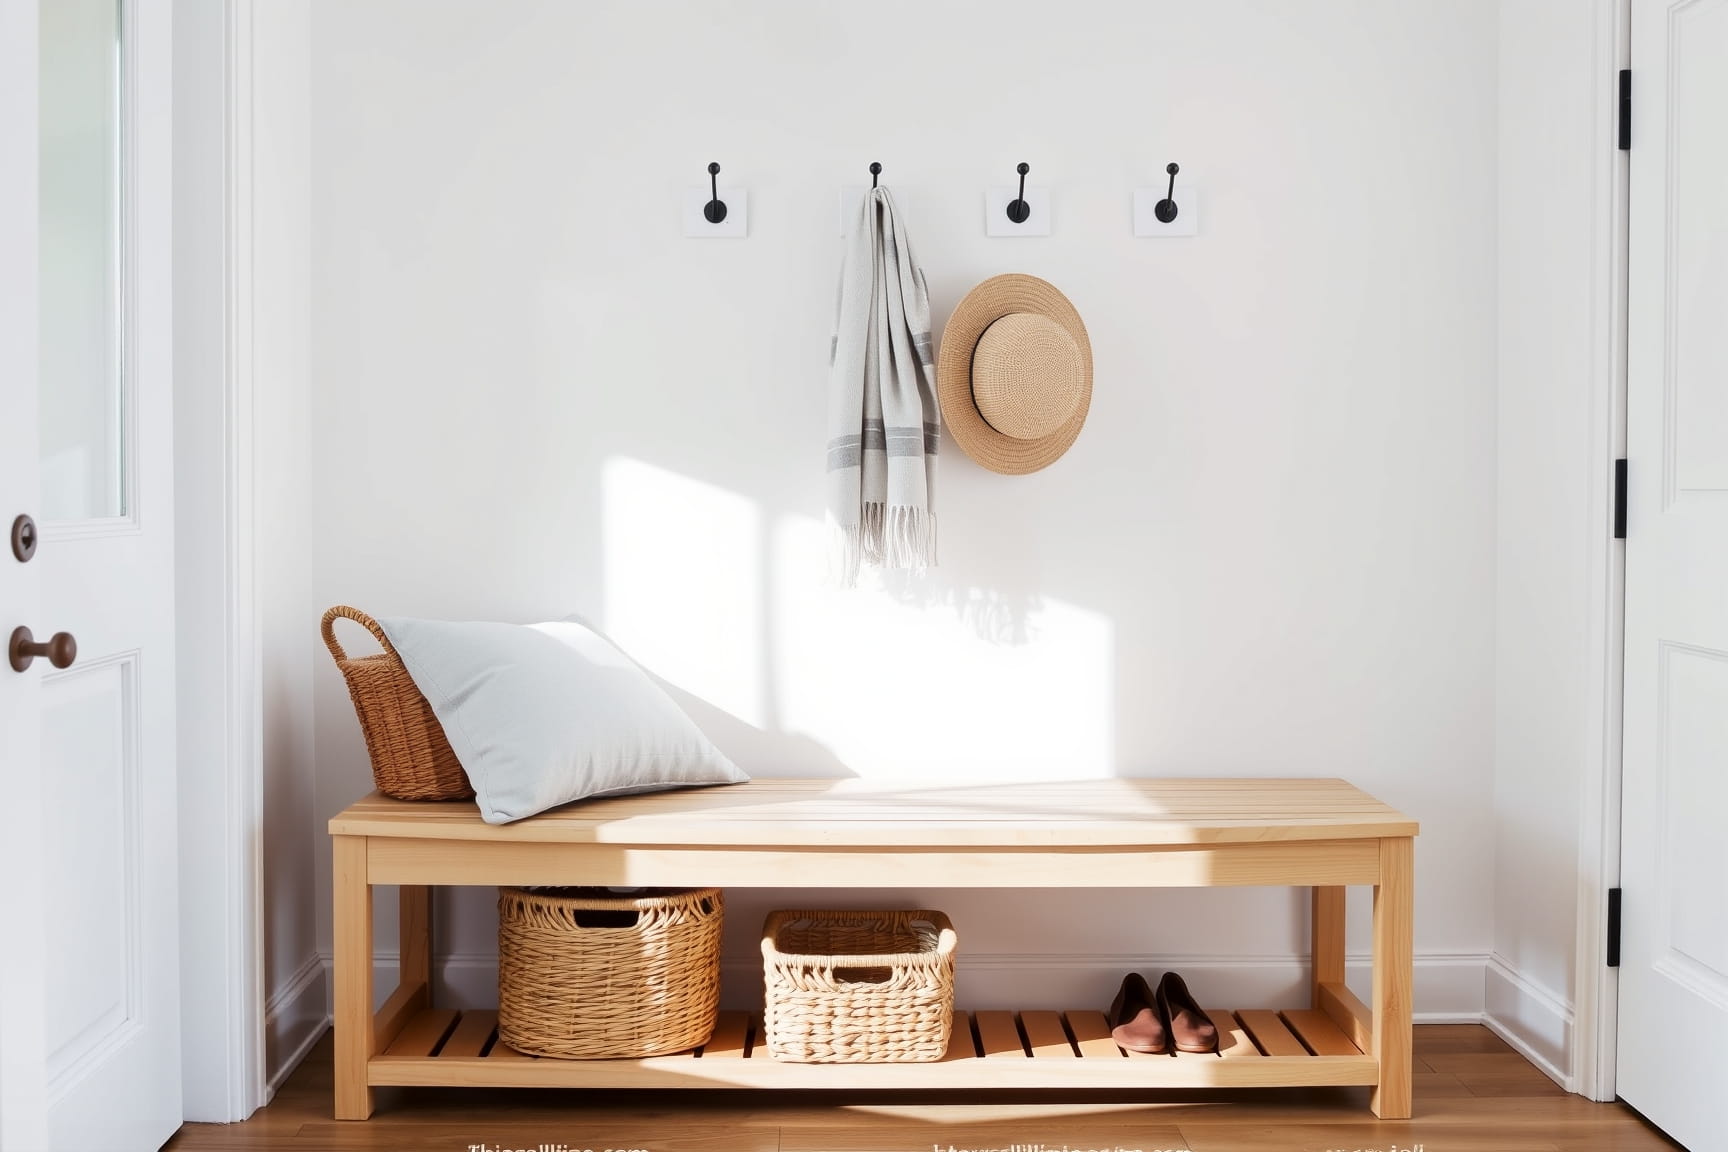
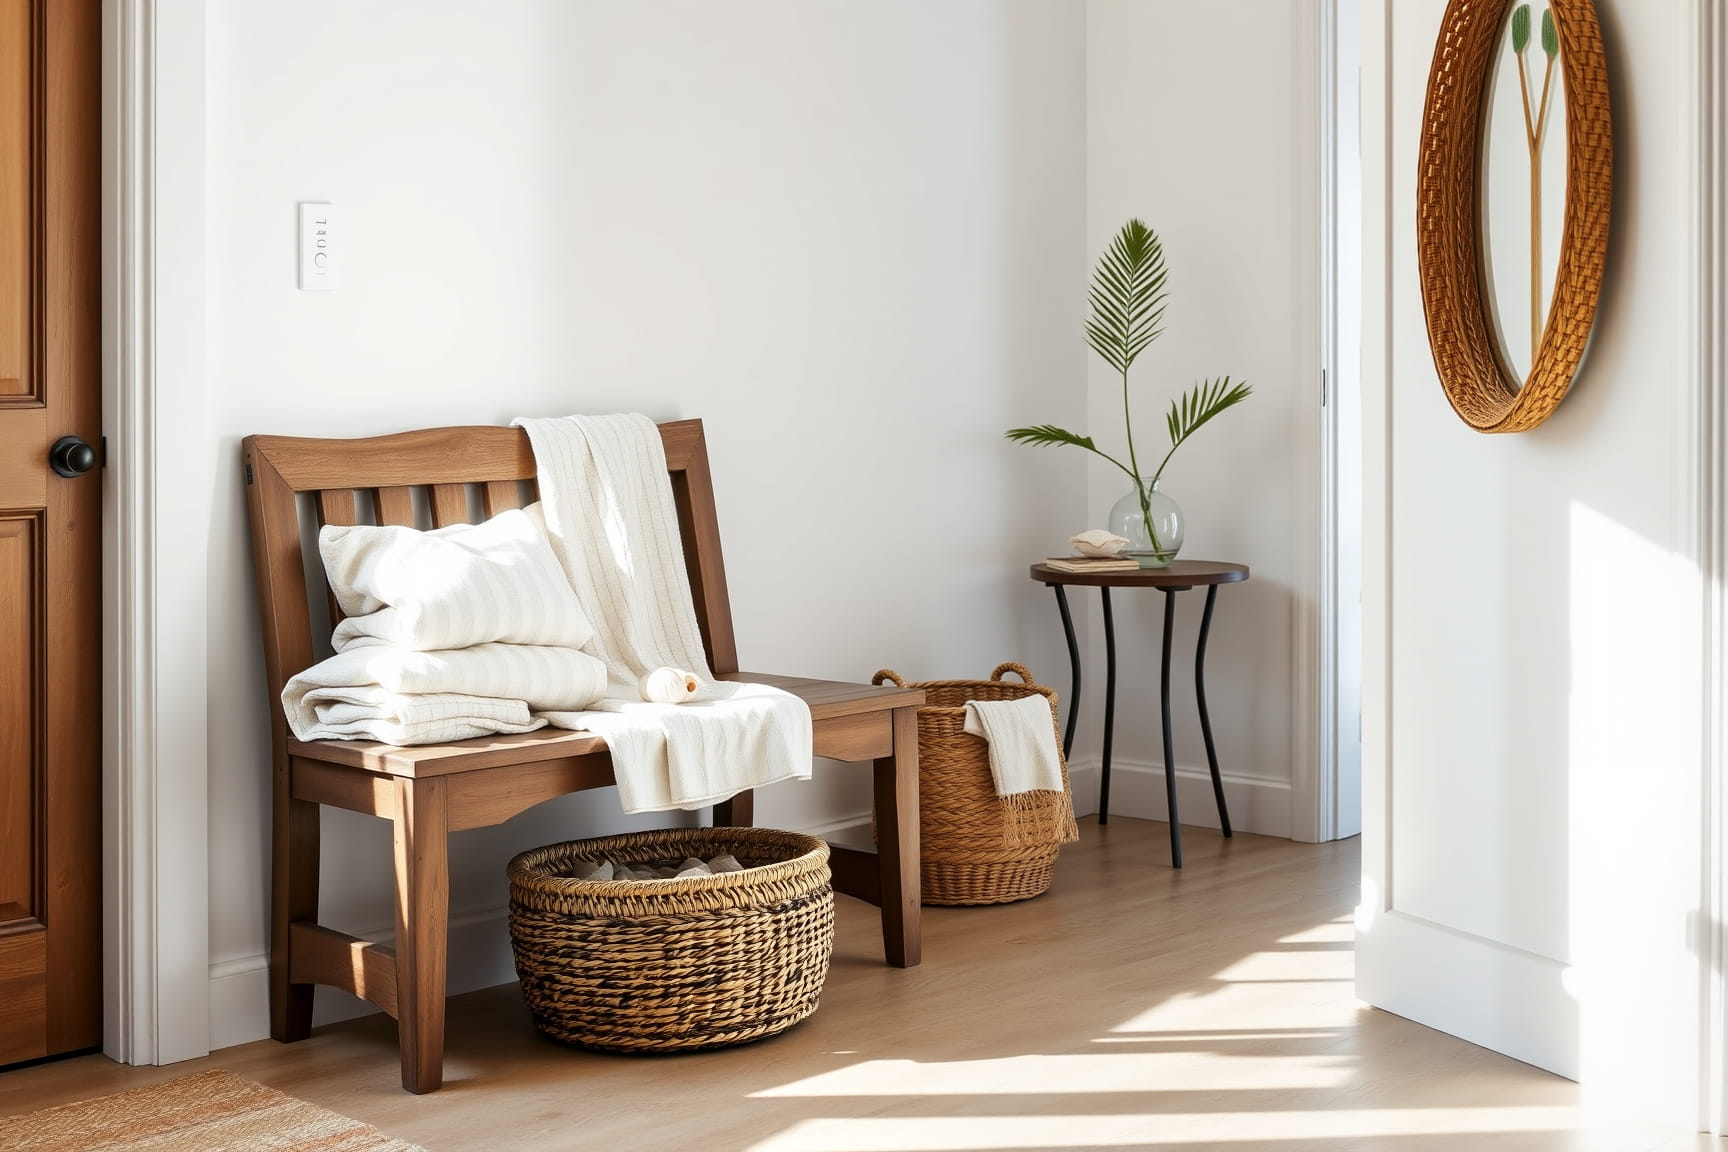
Creating a Single Keepsake Container Instead of Many Hiding Places
Sentimental items become overwhelming when they live in multiple locations: a box in the closet, a drawer in the desk, a bin in the garage. This section consolidates without forcing final decisions.
Choose one container that you can lift easily and store accessibly. A small box or bin is enough. This is not archival storage. It is active storage.
Bring over only the “keep nearby” items from previous sections. Do not pull new items from elsewhere in the house. Consolidation applies only to what you’ve already decided.
Place items loosely inside. Do not stack tightly or pack for efficiency. Over-packing hides volume and delays future decisions.
If the container fills before all selected items fit, remove the least clear item until it closes easily. That item moves back to “unsure.”
Label the container plainly. Avoid emotional labels. Use something functional like “Keepsakes.”
Return the container to one consistent location. Knowing where sentimental items live reduces the urge to scatter them again.
Once the container is placed, stop. You have created a clear boundary, which is the goal here.
Using Photos as a Backup, Not a New Clutter Category
Photographing sentimental items can help release physical objects, but only if used sparingly. This section prevents digital replacement clutter.
Choose only items you are actively removing from the container. Do not photograph everything “just in case.”
Take one clear photo per item. No staging. No multiple angles. The purpose is reference, not preservation.
Store photos in one existing folder on your phone or computer. Do not create a new system or app. Label the folder simply.
After photographing, remove the physical item from the work area. Do not keep both.
If you notice hesitation, skip photographing and keep the item for now. Forced backup creates more work later.
This step is optional. Completing the section means you have either photographed and released a small number of items or consciously chosen not to use photos at all. Both outcomes are valid stopping points.
What to Do With the “Unsure” Pile Without Revisiting Everything
The “unsure” pile exists to prevent decision stalls, not to linger forever. This section resolves it without reopening every choice.
Choose a smaller container than your keepsake box. Place only the “unsure” items inside. If it doesn’t fit, remove the least compelling item until it does.
Seal the container and label it with a date three to six months in the future. This creates distance without loss.
Store it out of immediate reach but not hidden completely. A high shelf or back of a closet is enough.
Do not open it during that period unless you need a specific item. Needing it is a decision.
When the date arrives, you can reassess with fresh eyes, but that step is not required now.
Once the “unsure” items are contained and stored, this round of decluttering sentimental items is complete. You can stop here without loose ends.
Sorting Inherited Items Without Turning It Into a Family History Project
Inherited items often arrive in bulk: boxes of dishes, decor, linens, tools, or personal belongings from someone else’s home. They usually come mixed, unlabeled, and emotionally charged. This section keeps the work practical and contained.
Choose only inherited items that are already inside your current working container. Do not pull in additional boxes “just to see.” Scope control matters here.
Separate inherited items into two physical groups: items you actively use and items you store. Used items are not part of this decision set today. Focus only on stored pieces.
Lay the stored items out and group them by function, not by who they came from. Plates with plates. Decor with decor. This removes the pressure to preserve a full narrative.
From each group, choose what realistically fits your home and storage now. Not what fit someone else’s house. Limit yourself to what fits comfortably in one designated space.
If multiple similar items exist, keep the ones in the best condition or easiest to use. Condition is a neutral decision-maker.
You are not responsible for preserving someone else’s entire household. You are deciding what crosses into your space.
Once selected items fit the container or shelf without stacking stress, stop. Anything that didn’t make the cut leaves this container. This section is complete when inherited items no longer dominate storage without purpose.
Separating Memory Value From Functional Use
Some sentimental items sit in a gray area because they are technically usable but not actually used. Examples include special dishes, framed items kept in closets, or textiles saved “for someday.” This section clarifies that category.
Take the items from your container that could be used but aren’t. Place them on a surface together.
Ask one grounded question: if this item had no backstory, would it earn a place in my current routines? Not special occasions. Current routines.
If yes, assign it a real location where it will be used. A drawer, shelf, or hook. Do not return it to keepsake storage.
If no, then it is functioning as a memory object, not a tool. Treat it like other sentimental items, subject to container limits.
This distinction matters because functional storage and sentimental storage have different rules. Mixing them creates clutter.
If you hesitate, default to sentimental. It is easier to release later from a contained box than from a kitchen cabinet.
Once items are reassigned clearly—either active use or contained keepsake—stop. You have resolved their role, which is the purpose of this section.
Making Decisions When Sentimental Items Belong to More Than One Person
Shared households complicate sentimental decluttering. Items may belong to a partner, children, or extended family. This section prevents conflict by setting physical boundaries, not arguments.
Start with items you personally claim responsibility for. Do not decide for others unless explicitly agreed.
For shared items, define space before value. Decide how much shared storage is available for sentimental belongings. One shelf. One box. One bin.
Invite the other person to choose what fits within that space. Do not negotiate item by item. Capacity does the work.
If participation isn’t possible, contain shared items temporarily in a clearly labeled box. This avoids unilateral decisions while restoring order.
Do not merge everyone’s sentimental items together unless space is intentionally shared. Separate containers reduce friction.
Once boundaries are set and items are physically contained, stop. You have resolved the storage problem even if emotional conversations are deferred.
Working in Short Sessions Without Reopening Old Decisions
Sentimental decluttering rarely finishes in one sitting. This section keeps progress intact between sessions.
When stopping, return all decided items to their designated containers. Do not leave piles exposed.
Write a brief note—on paper or phone—stating what you completed and what remains. One sentence is enough.
Store undecided containers closed. Open containers invite rethinking.
Next time, resume with a new container or a clearly defined subset. Do not reshuffle what was already decided unless something has changed.
Progress is measured by fewer loose items, not emotional resolution.
Stopping intentionally preserves energy and prevents avoidance. This section is complete when your space looks contained again, even if not finished.
Recognizing When Enough Is Enough for This Round
The final task in this sequence is knowing when to stop without creating a new mess. This is not a conclusion; it is a practical pause point.
Look at the original container. If it now holds fewer items, fits easily, and can be closed or returned to its place without strain, you are done for now.
Do not chase perfection. Do not reopen “unsure” items unless space requires it.
Return tools, clear surfaces, and leave the area usable.
Decluttering sentimental items works best in rounds. Completing one round reduces pressure for the next.
Once the area is stable, stop. That stability is the signal that this phase is complete.