
Kitchen Decluttering: A Practical, Step-by-Step Guide for Clearing Cabinets, Counters, and Drawers Without Overwhelm
The kitchen usually shows clutter first. Counters collect small appliances and mail. Cabinets hold mismatched containers, unused gadgets, and stacks of bowls that never quite fit. Drawers jam with utensils, batteries, takeout menus, and tools that don’t belong there. This article is a practical how-to guide for kitchen decluttering, focused on real objects in real kitchen spaces and the decisions that stall people out.
The scope is intentionally narrow. This guide covers physical kitchen items only: counters, drawers, cabinets, and the objects inside them. It does not cover remodeling, deep cleaning, or organizing systems that require buying new products. It also assumes common constraints: limited time, limited cabinet space, shared households, and decision fatigue around what to keep or let go.
Each section resolves one specific kitchen area or category. You can stop after any section and still have a visible improvement. The goal is not a perfect kitchen, but a calmer, more usable one that feels easier to maintain once you pause.
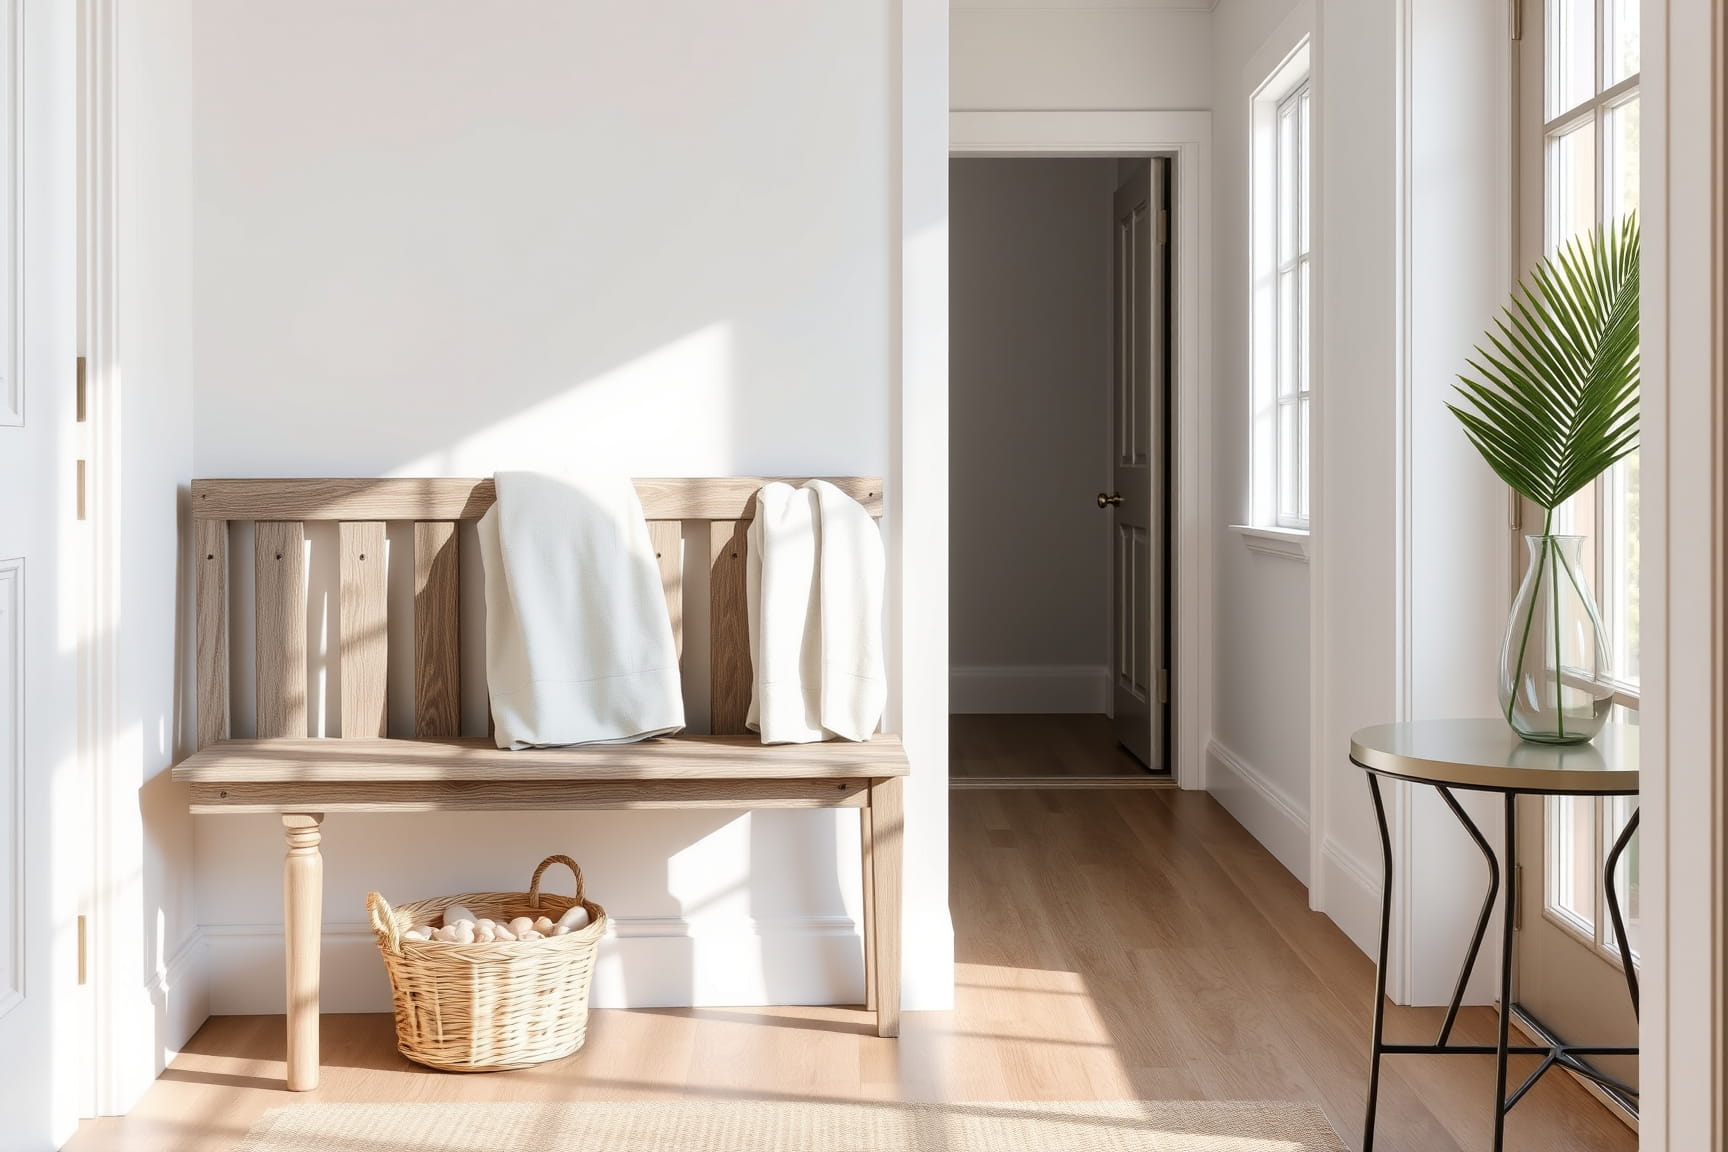
Start With the Countertops That Never Fully Clear
Countertops are usually cluttered with small appliances, paper stacks, jars, and items that migrate there because they don’t have a clear home. This section of kitchen decluttering focuses only on the counter surfaces you use daily, not every inch of the kitchen.
Begin by clearing one counter completely. Move everything off, even items you expect to put back. This creates a neutral surface so decisions are visible instead of blended together. Wipe the counter quickly; the clean surface helps you notice what truly belongs there.
Next, group the items you removed into three piles directly on the counter or nearby table. One pile is daily-use items: coffee maker, toaster, knife block. One pile is occasional-use items: blender, stand mixer, slow cooker. The third pile is everything else, including papers, decor, and objects that don’t belong in the kitchen at all.
Only daily-use items earn a permanent place back on the counter. Occasional-use items move to cabinets or storage, even if that storage is imperfect for now. The third pile leaves the counter area entirely. You are not required to decide their final destination yet.
Stop here once the counter holds only what you actively use. A clear counter is a functional boundary, not a design statement. This step alone often reduces visual stress enough to pause.
Open One Drawer and Deal With the Mixed Small Stuff
Kitchen drawers often hold the most mixed clutter: utensils tangled with rubber bands, batteries, notepads, lighters, and mystery tools. For kitchen decluttering, you only need to address one drawer at a time. Choose the drawer you open most often.
Empty the entire drawer onto the counter or table. This is important. Leaving items half inside the drawer makes it harder to see duplicates and non-kitchen items. Once empty, wipe the drawer quickly and set it aside.
Sort the items into four clear groups. First: eating and cooking utensils. Second: kitchen tools like peelers, thermometers, and measuring spoons. Third: non-kitchen items that wandered in. Fourth: broken, duplicated, or unusable items.
Only the first two groups go back into the drawer. Place them loosely at first, without worrying about dividers or perfection. Non-kitchen items leave the room immediately. Broken or excess items can be bagged and removed or set aside for disposal later.
Close the drawer once it opens and closes without resistance. That is the stopping point. You do not need to fix every drawer today. One functional drawer reduces daily friction more than a full-kitchen overhaul.
Address One Cabinet Shelf, Not the Whole Cabinet
Cabinets feel overwhelming because they hide volume. For kitchen decluttering, limit your focus to one shelf inside one cabinet. Ignore what’s above and below it.
Remove everything from that shelf and place it on the counter. This makes expired food, unused dishes, and duplicates visible. Wipe the shelf quickly to reset the space.
Group items by type: plates together, bowls together, mugs together, storage containers together. Look for excess within each group. If you have more than you can stack comfortably on that shelf, choose the ones you actually reach for. Items that require unstacking multiple layers to access are candidates to leave the shelf.
Return only what fits easily and is used regularly. Items you rarely use can move to a higher shelf or a secondary cabinet. Items you never use can be boxed or bagged for later decisions.
Close the cabinet once the shelf holds one clear category or a small set of related items. You are done with that cabinet for now. A single usable shelf improves daily access without triggering cabinet-wide fatigue.
Sort Pots, Pans, and Lids by Actual Use
Pots and pans are heavy, awkward, and often stored inefficiently. Kitchen decluttering here is about reducing friction, not achieving uniformity.
Pull all pots, pans, and lids out of their cabinet or drawer. Stack them on the counter or floor nearby. This makes size, duplicates, and damage visible.
Group by type: large pots, small pots, frying pans, specialty items. Then separate lids and match them to what you actually use. Lids without a matching pot, or pots without a usable lid, should be flagged.
Decide based on use, not potential. If you consistently reach for the same two pans, keep them accessible. Specialty items you use once or twice a year can move to a less convenient spot. Warped, scratched, or unused pieces can leave the kitchen.
Return items so that the most used pieces are easiest to reach. Vertical stacking is fine if it doesn’t require lifting multiple heavy items each time. Stop once the cabinet opens without clanging or shifting.
You do not need a perfect lid system. Functional access is enough for now.
Reduce Food Storage Containers to What Actually Matches
Food storage containers are a common pain point: mismatched lids, stained bases, stacks that collapse. This kitchen decluttering step focuses only on containers, not pantry food.
Remove all containers and lids from their cabinet or drawer. Spread them out on the counter or table so every piece is visible.
Match lids to bases immediately. Any container without a matching lid, or lid without a base, goes into a discard pile. Be firm here; unmatched pieces rarely become useful again.
Next, reduce duplicates. If you have multiples of the same size but only use a few, keep the number that stacks neatly and fits your cooking habits. Stained, warped, or cracked containers can leave.
Return containers nested by size, with lids stacked or stored upright if possible. Avoid overfilling the space. The cabinet should close easily without shifting stacks.
Stop once you can grab a container and lid without digging. This is enough. You do not need to replace containers or buy a matching set to feel the benefit.

Triage the Pantry Shelf That Causes the Most Frustration
Pantries often become cluttered vertically: cans pushed back, bags stacked on bags, expired items hiding behind newer ones. For kitchen decluttering, choose the pantry shelf that annoys you most, not the entire pantry.
Clear just that shelf. Place everything on the counter so labels face up. This immediately reveals duplicates and expired food. Toss expired items without hesitation; you don’t need to inventory what’s already gone bad.
Group what remains by type: canned goods, baking supplies, snacks, breakfast items. This grouping is temporary and only for visibility. Notice which categories take up the most space and which items you routinely forget you own.
Return items so the most-used foods are at the front of the shelf. Less-used items can go toward the back, but still visible. Avoid stacking different categories on top of each other; that’s how food disappears.
Stop once the shelf holds fewer items and everything is visible at a glance. You don’t need bins or labels yet. One calmer shelf reduces overbuying and makes daily meals easier without touching the rest of the pantry.
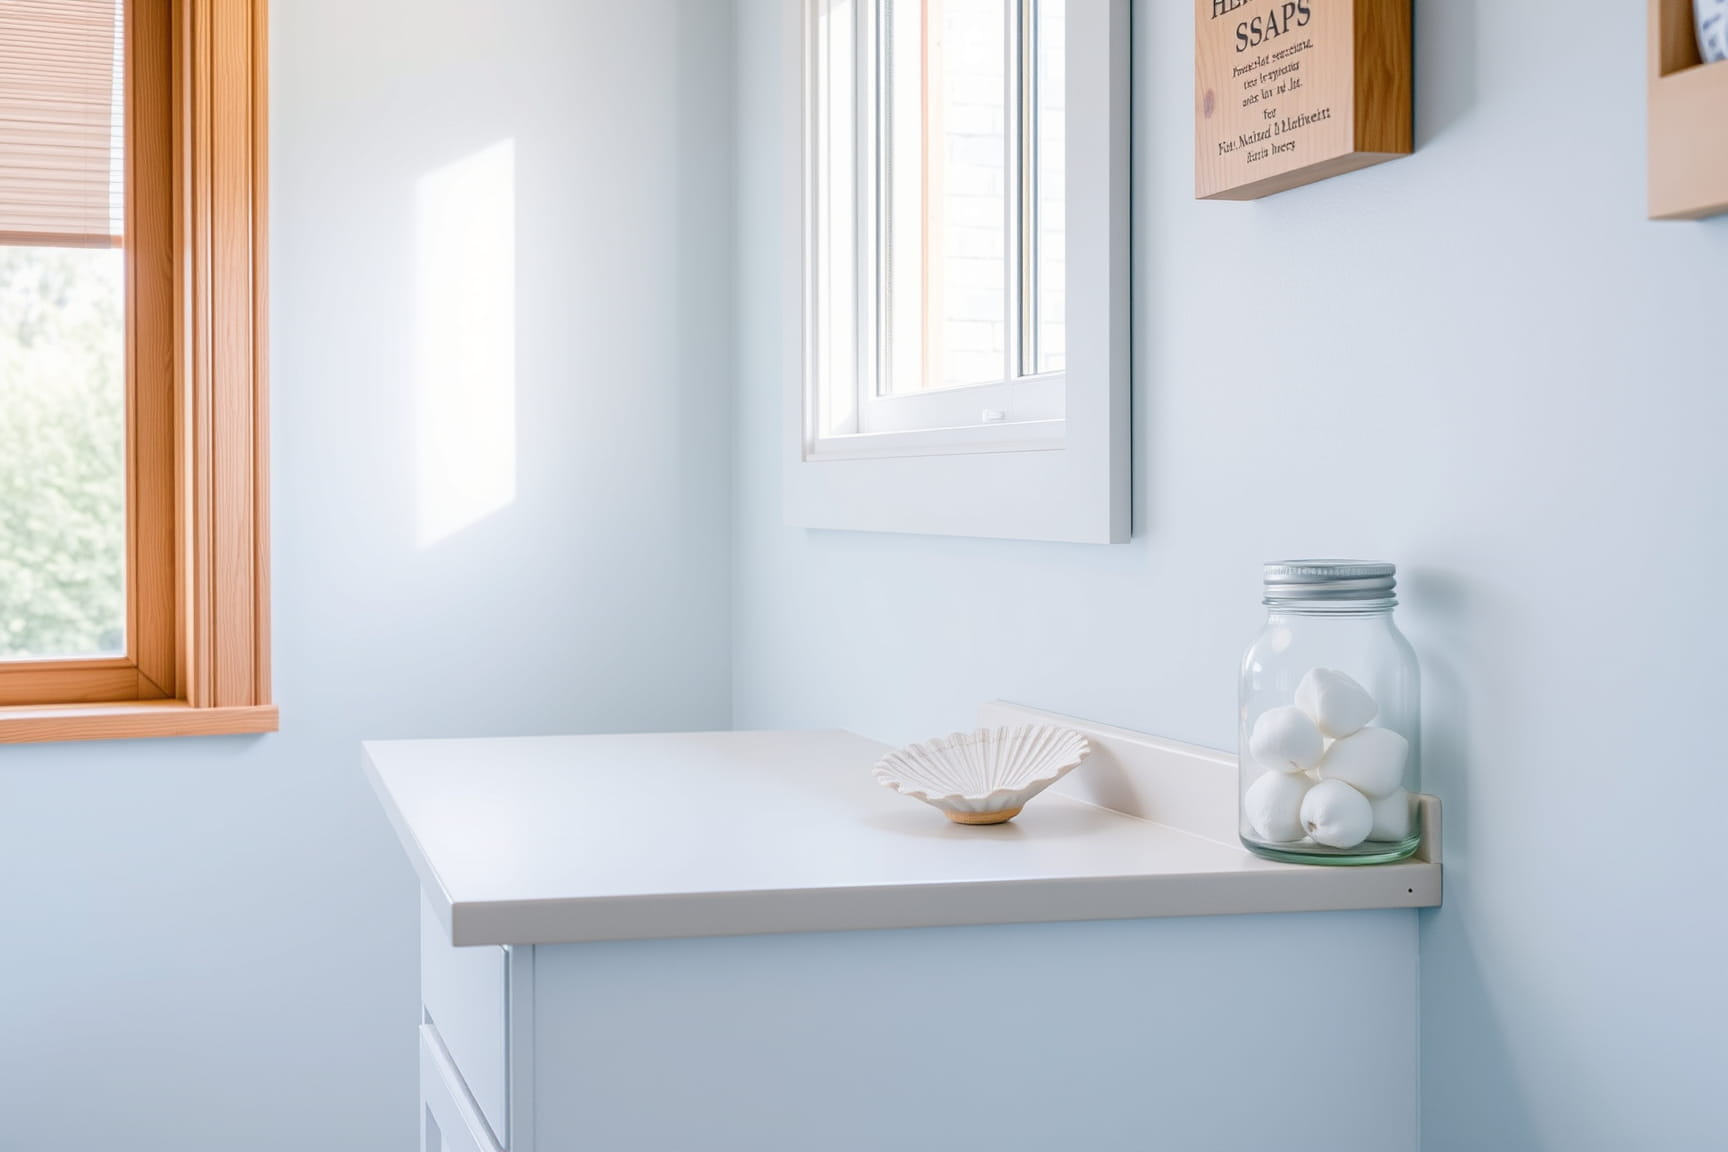
Pull Out Cleaning Supplies That Live Under the Sink
The cabinet under the sink often holds cleaning sprays, sponges, bags, and items that don’t fit anywhere else. This kitchen decluttering step is limited to what’s under the sink only.
Remove everything and place it on the floor or nearby counter. Wipe the cabinet base, especially if there are leaks or residue. This reset makes the space usable again.
Sort items into three groups: cleaning products you actively use, backups or duplicates, and items that don’t belong under the sink. Check expiration dates and condition. Half-used bottles of the same cleaner are common here.
Keep one primary version of each cleaner you actually use. Backup items can move to a separate storage area if space allows. Items that don’t belong under the sink should leave the cabinet entirely.
Return items so nothing is stacked directly in front of something else if possible. The cabinet should open without fear of spills. Stop once you can reach what you need without moving multiple bottles. That’s sufficient for now.
Sort the Fridge Door and One Interior Shelf
Refrigerators feel overwhelming because they combine food safety with clutter. For kitchen decluttering, limit this step to the fridge door and one interior shelf.
Start with the door. Remove everything and check expiration dates. Condiments multiply quickly and are often duplicated. Keep the versions you use regularly and discard expired or unused ones.
Wipe the door shelves, then return items loosely grouped by type: sauces together, dressings together. Avoid packing tightly; visibility matters more than maximizing space.
Next, choose one interior shelf. Remove everything from that shelf only. Toss expired food and combine duplicates where possible.
Return items so leftovers and frequently used foods are at eye level. Avoid stacking containers if it blocks visibility. Stop once that shelf feels readable without rearranging.
Close the fridge. You do not need to finish it all. A single organized shelf improves daily use and reduces forgotten food immediately.
Deal With Small Appliances You Rarely Use
Small appliances often live on counters or deep in cabinets: waffle makers, blenders, air fryers, slow cookers. Kitchen decluttering here is about access versus storage, not getting rid of cooking options.
Pull out all small appliances from one area. Line them up so you can see quantity and size.
Ask one practical question: which of these do I use often enough to justify easy access? Appliances you use weekly or monthly earn better spots. Appliances used once or twice a year can move to harder-to-reach storage.
If counter space is limited, choose only the most-used appliance to stay out. Others should go into cabinets or storage. Appliances you haven’t used in years can be set aside for later decisions.
Return appliances based on frequency, not aspiration. Stop once counters feel lighter or cabinets open more easily. You don’t need to decide the fate of every appliance today.
Clear the Kitchen Table or Drop Zone Surface
Many kitchens have a surface that collects non-kitchen clutter: a table corner, breakfast bar, or mail drop zone. This kitchen decluttering step focuses only on that one surface.
Clear everything off the surface. This includes papers, bags, devices, and random items. Wipe it quickly to reset the space.
Sort items into two groups: items that belong elsewhere and items that actually belong on this surface. Most items will fall into the first group.
Return only what supports the intended use of the surface. A kitchen table should primarily support eating or food prep, not storage. A drop zone should hold only current, actionable items.
Move the rest out of the kitchen entirely. You are not required to organize them now.
Stop once the surface is mostly clear and usable again. A single cleared surface often makes the entire kitchen feel calmer, even if other areas remain untouched.
Reclaim the Junk Drawer Without Turning It Into a Project
Most kitchens have one drawer that collects tape, scissors, coupons, batteries, and items with no obvious home. Kitchen decluttering does not require eliminating the junk drawer, only making it usable again.
Empty the drawer completely onto the counter. This step matters because junk drawers rely on layering, which hides duplicates and broken items. Once empty, wipe the drawer so you’re not putting items back into crumbs and debris.
Sort items into five simple groups: tools you use often, paper items, batteries and electronics, hardware or fix-it items, and trash. Discard broken pens, dried-out markers, expired coupons, and instruction manuals you’ll never reference.
Limit each category to what fits comfortably in the drawer without stacking. If one category overwhelms the space, reduce it rather than expanding into another drawer. The junk drawer should close easily and open without snagging.
Return items loosely grouped, not tightly organized. This drawer exists for utility, not perfection. Stop once you can find scissors, tape, and batteries without digging.
You don’t need dividers or labels. A functional junk drawer supports daily life without demanding maintenance.
Edit Spices by Use, Not By Purchase Date
Spice cabinets and racks often hold dozens of jars that look similar and get used unevenly. Kitchen decluttering here focuses on access and relevance, not culinary identity.
Remove all spices from one cabinet or rack. Line them up so labels face forward. This makes duplicates and forgotten jars visible.
Check expiration dates briefly, but prioritize use. If a spice is technically expired but used often, it can stay. If a spice is unopened or unused for years, it’s a candidate to leave.
Group spices into three categories: frequently used, occasionally used, and rarely used. Frequently used spices should be easiest to reach. Rarely used ones can move to a back row or higher shelf.
If space is tight, reduce duplicates and novelty spices first. Keep the versions you actually reach for.
Return spices so labels are readable without lifting jars. Stop once you can grab what you need while cooking without shuffling bottles.
This step alone often improves cooking flow without touching recipes or buying new storage.
Clear the Cabinet That Holds Glasses and Mugs
Glasses and mugs accumulate quickly and are often stored inefficiently. For kitchen decluttering, focus on one cabinet where drinking vessels live.
Remove everything from the cabinet and place items on the counter. Group by type: everyday glasses, specialty glasses, mugs.
Count how many you realistically use in a week. Keep enough for your household plus a small buffer. Excess mugs and novelty glasses often linger unused.
Check for chips or cracks and remove damaged items. Return only what fits comfortably without forcing stacks or overcrowding shelves.
Place the most-used items at the front or on the lowest shelf. Specialty items can move to higher shelves or secondary cabinets.
Close the cabinet once items sit securely and are easy to grab. You don’t need to eliminate all extras. A cabinet that opens calmly and supports daily use is the goal.
Reduce Baking Tools and Gadgets to the Essentials
Baking tools tend to accumulate over time: specialty pans, molds, cutters, and tools used once. Kitchen decluttering here is about relevance, not ambition.
Pull baking tools from one cabinet or drawer. Lay them out so shapes and duplicates are obvious.
Group items by function: pans, mixing tools, measuring tools, specialty gadgets. Identify which ones you use regularly versus occasionally.
Keep the tools that support how you actually bake now. Specialty items used once every few years can move to harder-to-reach storage or leave the kitchen entirely.
Return tools so the most-used items are easiest to access. Avoid stacking heavy pans in ways that require lifting multiple items.
Stop once the cabinet closes easily and you can reach basic baking tools without rearranging. You don’t need to curate a minimalist set. You just need usable space.
Reset One Kitchen Corner or Awkward Space
Every kitchen has an awkward space: a corner cabinet, narrow shelf, or unused nook that becomes a catchall. Kitchen decluttering here focuses on reclaiming one of these areas without redesigning it.
Clear the space completely. This might be a corner shelf, rolling cart, or small cabinet. Wipe it down to reset the area.
Decide what this space will hold, using one clear category only. Examples include snacks, baking supplies, or pet food. Avoid mixed categories.
Return items that fit the chosen category and space comfortably. If items overflow, reduce the category rather than expanding into adjacent areas.
Leave some empty space on purpose. This prevents the area from immediately refilling.
Stop once the space has a single, clear purpose and is easy to access. You do not need to solve every awkward area in the kitchen. One reclaimed space reduces clutter pressure across the room.