
Organizing Small Spaces: Practical, Ground-Level Ways to Make Tight Rooms Work
Drawers that won’t close, shelves stacked two layers deep, counters holding mail, appliances, and bags—organizing small spaces usually starts with items already pressed together and hard to separate. This is a practical, step-by-step guide to organizing small spaces inside real rooms: kitchens, bedrooms, entryways, bathrooms, and shared storage areas. It focuses on physical objects, limited square footage, and the reality of keeping things accessible without expanding into renovations, buying furniture, or overhauling your life.
The scope here is narrow on purpose. This guide covers how to work with what is already in the space: existing cabinets, closets, shelves, and containers. It assumes limited time, limited storage, and decision fatigue. Each section addresses one concrete organizing problem so you can stop after any section and still be done for now.
Start With the Surfaces That Block Daily Use
In small spaces, flat surfaces become default storage. Kitchen counters collect mail and small appliances. Dressers hold loose items instead of clothing. Bathroom counters fill with bottles and tools. This section focuses on organizing those surfaces first because they directly affect daily function.
Clear one surface completely. Not the whole room—just one counter, tabletop, or dresser top. Move everything off and place it nearby so nothing leaves the room. Wipe the surface so it is visibly empty. This creates a clear boundary you will protect.
Return only items that are used daily and must stay out. A coffee maker that is used every morning earns counter space. A blender used once a month does not. The rule is physical frequency, not preference. If an item is touched daily, it stays. If not, it moves.
For items that don’t make the cut, assign them downward storage: drawers, cabinets, or shelves below eye level. If no space exists, group them together temporarily. Do not solve long-term storage yet.
The goal here is not minimalism. It is restoring working space so the room functions again. Once a surface is usable, stop. That alone reduces visual and mental clutter.
Use Vertical Space Without Overstacking
When floor space is limited, vertical storage feels like the obvious answer. The problem is that vertical space often turns into unstable stacks or shelves that are too full to use easily. This section shows how to use height without creating more friction.
Start by identifying one vertical zone: a wall shelf, the inside of a closet, or the space above a door. Empty only that zone. Do not add new shelves or hooks yet. First, see what you are working with.
Place heavier and frequently used items between waist and shoulder height. This prevents constant lifting and reshuffling. Lighter or rarely used items can go higher. Avoid stacking items directly on top of each other unless they are identical and used together.
If using bins, leave visible air space above each container. Overfilled vertical storage becomes inaccessible storage. Labels help here, but only after contents are finalized.
Stop when each shelf can be accessed without removing more than one item. If you have to unload a shelf to reach something, it is too full. Vertical space should reduce effort, not add steps.
Divide Drawers to Stop Internal Piling
Small drawers often look organized from the outside but hide mixed piles inside. This section addresses drawers that contain many small items sliding together: utensils, office supplies, toiletries, or accessories.
Empty one drawer fully. Place items on a flat surface nearby. Clean the drawer so you can see its true size. This matters more than it sounds—dirty or shadowed drawers hide overcrowding.
Group items by use, not category. For example, pens and sticky notes that are used together belong together, even if they are different types of items. This reduces searching.
Use simple dividers or small boxes that fit the drawer’s width exactly. Loose dividers shift and recreate piles. If nothing fits perfectly, use fewer, larger sections instead of many small ones.
Return items so each section holds only what fits comfortably. If a group spills over, it means there are too many items for that drawer. Remove duplicates first.
Close the drawer. If it slides smoothly without resistance, stop. A functioning drawer is the goal, not perfect sorting.
Assign One Purpose to Each Storage Area
In small spaces, storage areas often serve multiple purposes, which leads to confusion and overflow. This section focuses on assigning one clear job to each cabinet, shelf, or bin.
Choose one storage area: a cabinet, basket, or shelf. Empty it only halfway so the task stays contained. Look at what is inside and ask what most of these items have in common.
Name the purpose in concrete terms. For example: “breakfast items,” “cleaning supplies,” or “work cables.” Avoid vague labels like “miscellaneous.” If items don’t fit the purpose, remove them.
Return items that match the purpose and place them so the most-used items are easiest to reach. Less-used items go to the back or bottom.
If an item has no obvious home after this step, set it aside temporarily. Do not force it into the wrong space. Misassigned items cause future clutter.
When a space has a single job, decisions become faster. You know immediately where things belong, which prevents piles from forming again.
Reduce Container Count Before Buying More
Containers are often added to small spaces too early. This section explains how to work with fewer containers to regain space.
Start by pulling out all containers from one area: bins, baskets, organizers. Stack them empty so you can see how many you have. This often reveals excess.
Choose the containers that fit the space best. Flat-bottomed, straight-sided containers use space more efficiently than decorative or tapered ones. Keep containers that allow items to stand upright rather than pile.
Place items into containers loosely. If a container requires force to close or bulges, it is too small or too full. Remove items until it closes easily.
Store empty containers elsewhere or let them go. Empty containers stored “just in case” often become clutter themselves.
Stop when each container can be lifted and moved without rearranging its contents. Fewer, well-sized containers make small spaces easier to maintain and easier to reset after daily use.
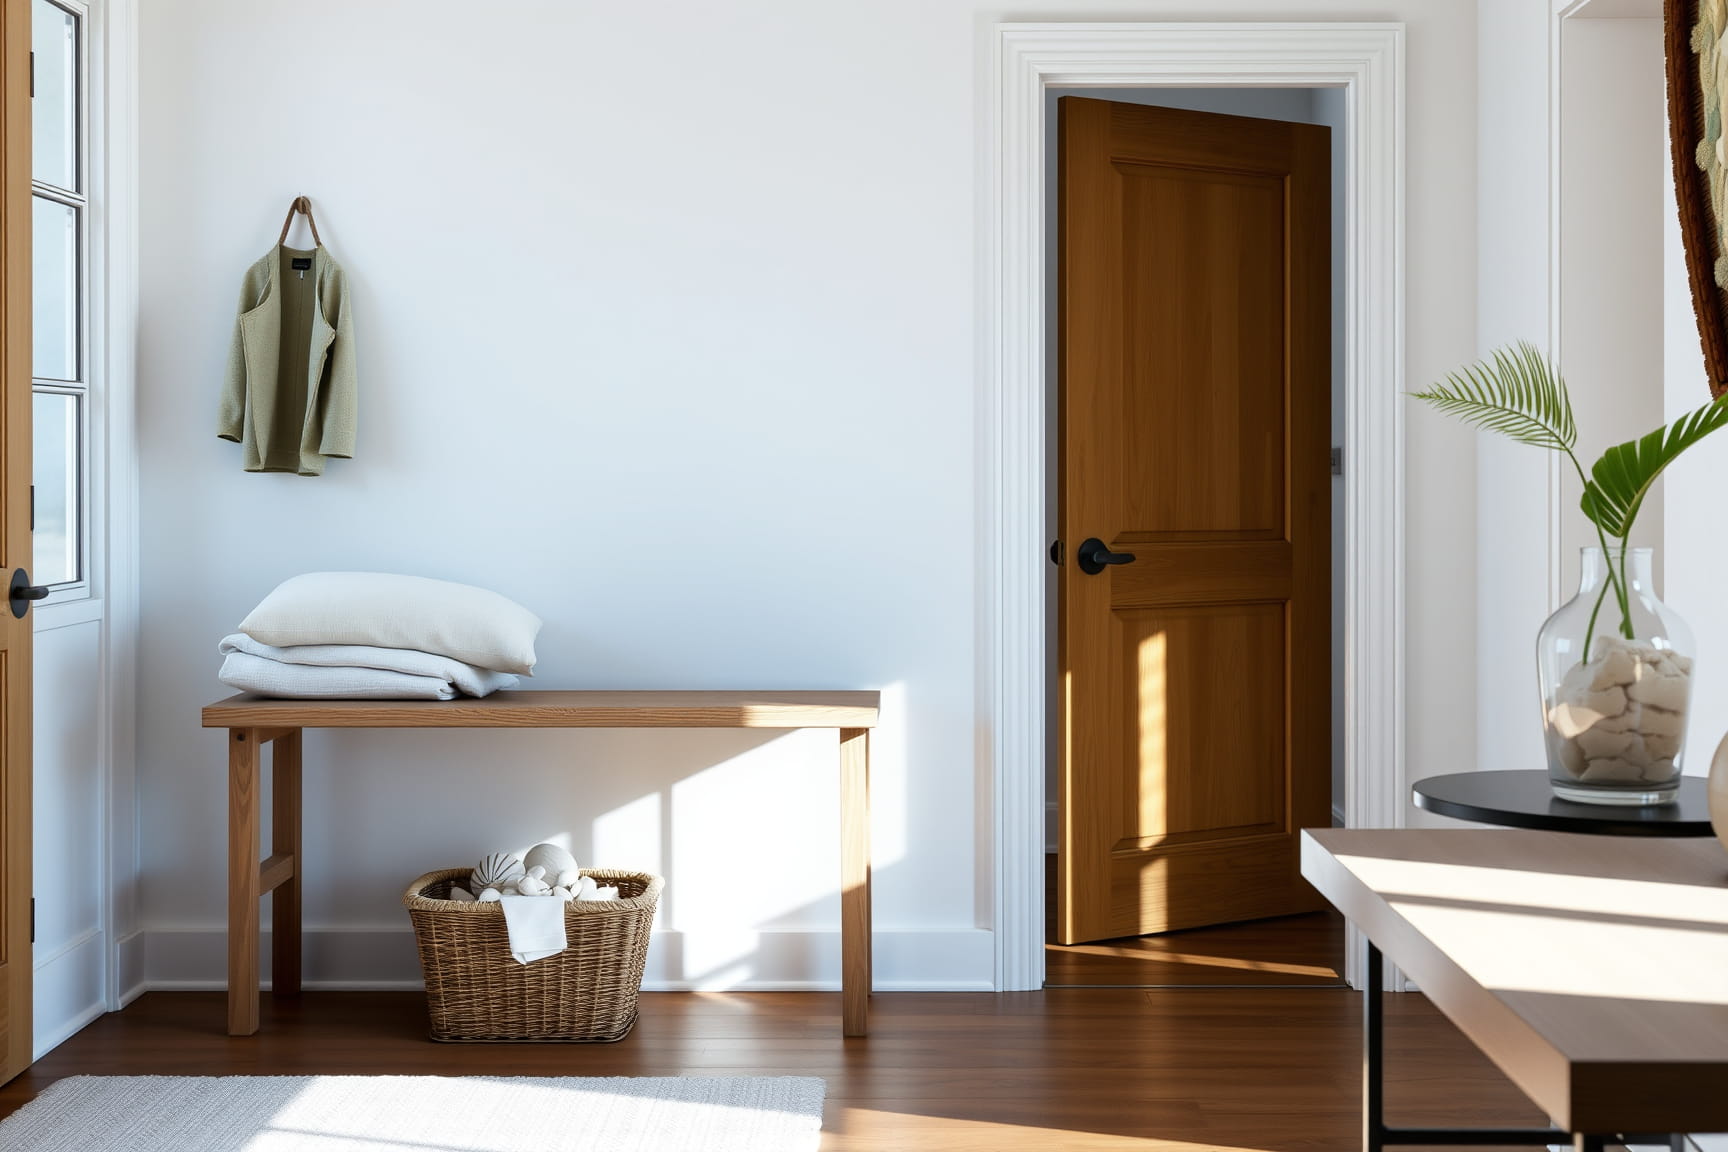
Create Entryway Storage That Handles Daily Traffic
Small entryways fail when shoes, bags, and coats have no fixed landing zone. This section focuses on organizing an entryway so daily items stop migrating into nearby rooms.
Start by clearing the floor completely. Shoes, backpacks, umbrellas, and bags all come out. Sweep or wipe the area so the floor is visibly empty. This establishes the boundary you’re working with.
Decide what must live in the entryway based on daily use. One pair of shoes per person, the bag used most often, and the coat worn regularly earn space. Everything else moves out. Seasonal or backup items do not stay here.
Use vertical solutions before adding furniture. Wall hooks for bags and coats reduce floor clutter immediately. Place hooks at realistic heights so items are actually rehung instead of dropped.
For shoes, limit the footprint. A narrow mat or tray defines how many pairs fit. When it’s full, something must leave. This prevents overflow without constant decision-making.
If space allows, add one small container for loose items like keys or mail. Keep it shallow so items stay visible.
Stop once the floor stays clear during a normal day. An entryway that absorbs daily traffic without spreading clutter has done its job.
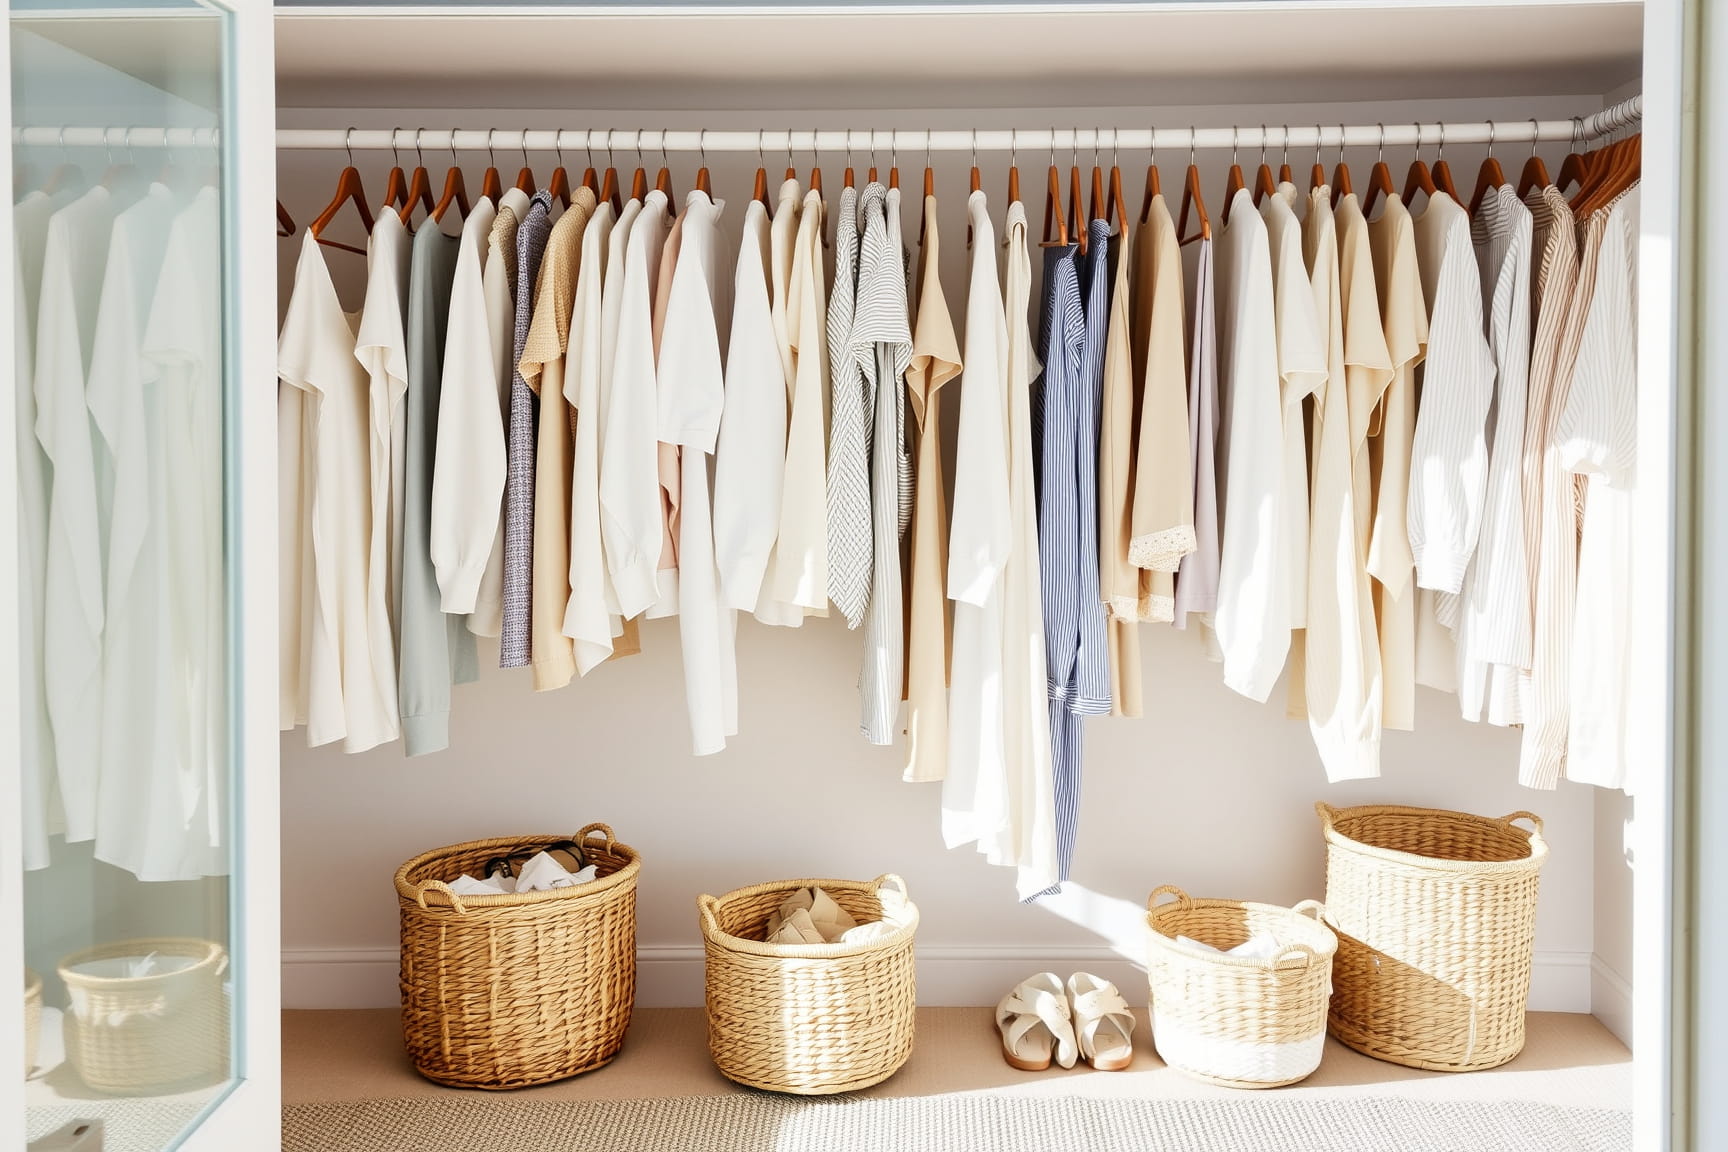
Organize Closets by Access, Not Category
Small closets become crowded when everything is treated as equal. This section shows how to organize closets based on how often items are accessed, not what type they are.
Start by emptying one zone of the closet: either the hanging rod, a shelf, or the floor area. Do not empty the entire closet at once. Focus stays contained.
Sort items by how often they are used. Daily and weekly items form one group. Occasional items form another. Rarely used items form the last group. This is about frequency, not importance.
Place daily items at the easiest reach point. In a hanging closet, this means front and center on the rod. Shelves at eye level should hold items you touch regularly.
Occasional items go higher or farther back. Rarely used items move to the highest shelf or floor bins, clearly separated.
Use matching hangers if possible. They reduce visual noise and allow clothes to slide evenly, preventing jams.
Leave space between items. A packed closet discourages re-hanging and causes piles elsewhere.
Stop once you can grab daily items without shifting others. A closet organized by access reduces effort and keeps clothes where they belong.
Tame Bathroom Storage Without Expanding It
Bathroom storage is limited and easily overwhelmed by small items. This section addresses organizing cabinets, drawers, and under-sink areas without adding furniture.
Start with one storage area, such as the under-sink cabinet. Remove everything and place items on a towel nearby. Clean the cabinet so spills and residue don’t hide clutter.
Group items by use: daily care, cleaning, backups. Avoid grouping by product type alone. Items used together should live together.
Return daily items to the most accessible spot. This usually means the front of a cabinet or top drawer. Backups and extras go behind or below.
Use shallow bins to prevent stacking. Tall bins encourage piling and forgotten items. Shallow containers force visibility.
Check expiration dates while handling items. Remove anything expired or nearly empty. This is a physical decision, not a purge.
Avoid storing items on the counter unless used multiple times a day. Clear counters make small bathrooms feel larger and easier to clean.
Stop when you can reach daily items with one hand and no rearranging. Functional access matters more than fitting everything perfectly.
Make Kitchen Cabinets Work Harder, Not Fuller
Kitchen cabinets in small spaces often hold too much of everything. This section focuses on making cabinets easier to use without increasing storage.
Choose one cabinet to work on—preferably one that’s hard to use. Empty it completely. Place items on the counter so they stay visible.
Sort items by task: cooking, baking, food storage, or serving. This helps clarify what belongs together.
Return items so frequently used tools are easiest to reach. Place heavy items on lower shelves to reduce strain and shifting.
Use risers only if they allow items to be lifted out easily. If a riser creates a need to unload items, remove it.
Avoid stacking mismatched items. Lids and containers should stand upright or nest cleanly. Loose stacks waste space.
If items don’t fit comfortably, reduce quantity. Duplicate tools and rarely used gadgets are common space blockers.
Close the cabinet and reopen it. If you can see and reach what you need without moving multiple items, stop. Usable cabinets prevent countertop clutter from returning.
Handle Paper and Small Items Before They Spread
Paper and small loose items are common clutter drivers in small spaces. This section shows how to contain them before they take over surfaces.
Designate one paper zone only. This could be a tray, bin, or folder near where paper enters the home. Clear nearby surfaces first.
Sort paper into three groups: action needed, reference, recycle. Do this immediately so paper doesn’t linger.
Limit the size of the action-needed container. When it fills, something must be addressed. This prevents silent buildup.
For small items like receipts, batteries, or spare keys, assign one shallow container. Avoid deep bins that hide contents.
Label only if it helps you return items correctly. Over-labeling adds work without benefit.
Do not distribute paper across rooms. Centralizing it reduces visual noise and decision fatigue.
Stop once paper has a single landing place and small items stop appearing on random surfaces. Containment, not elimination, is the goal here.
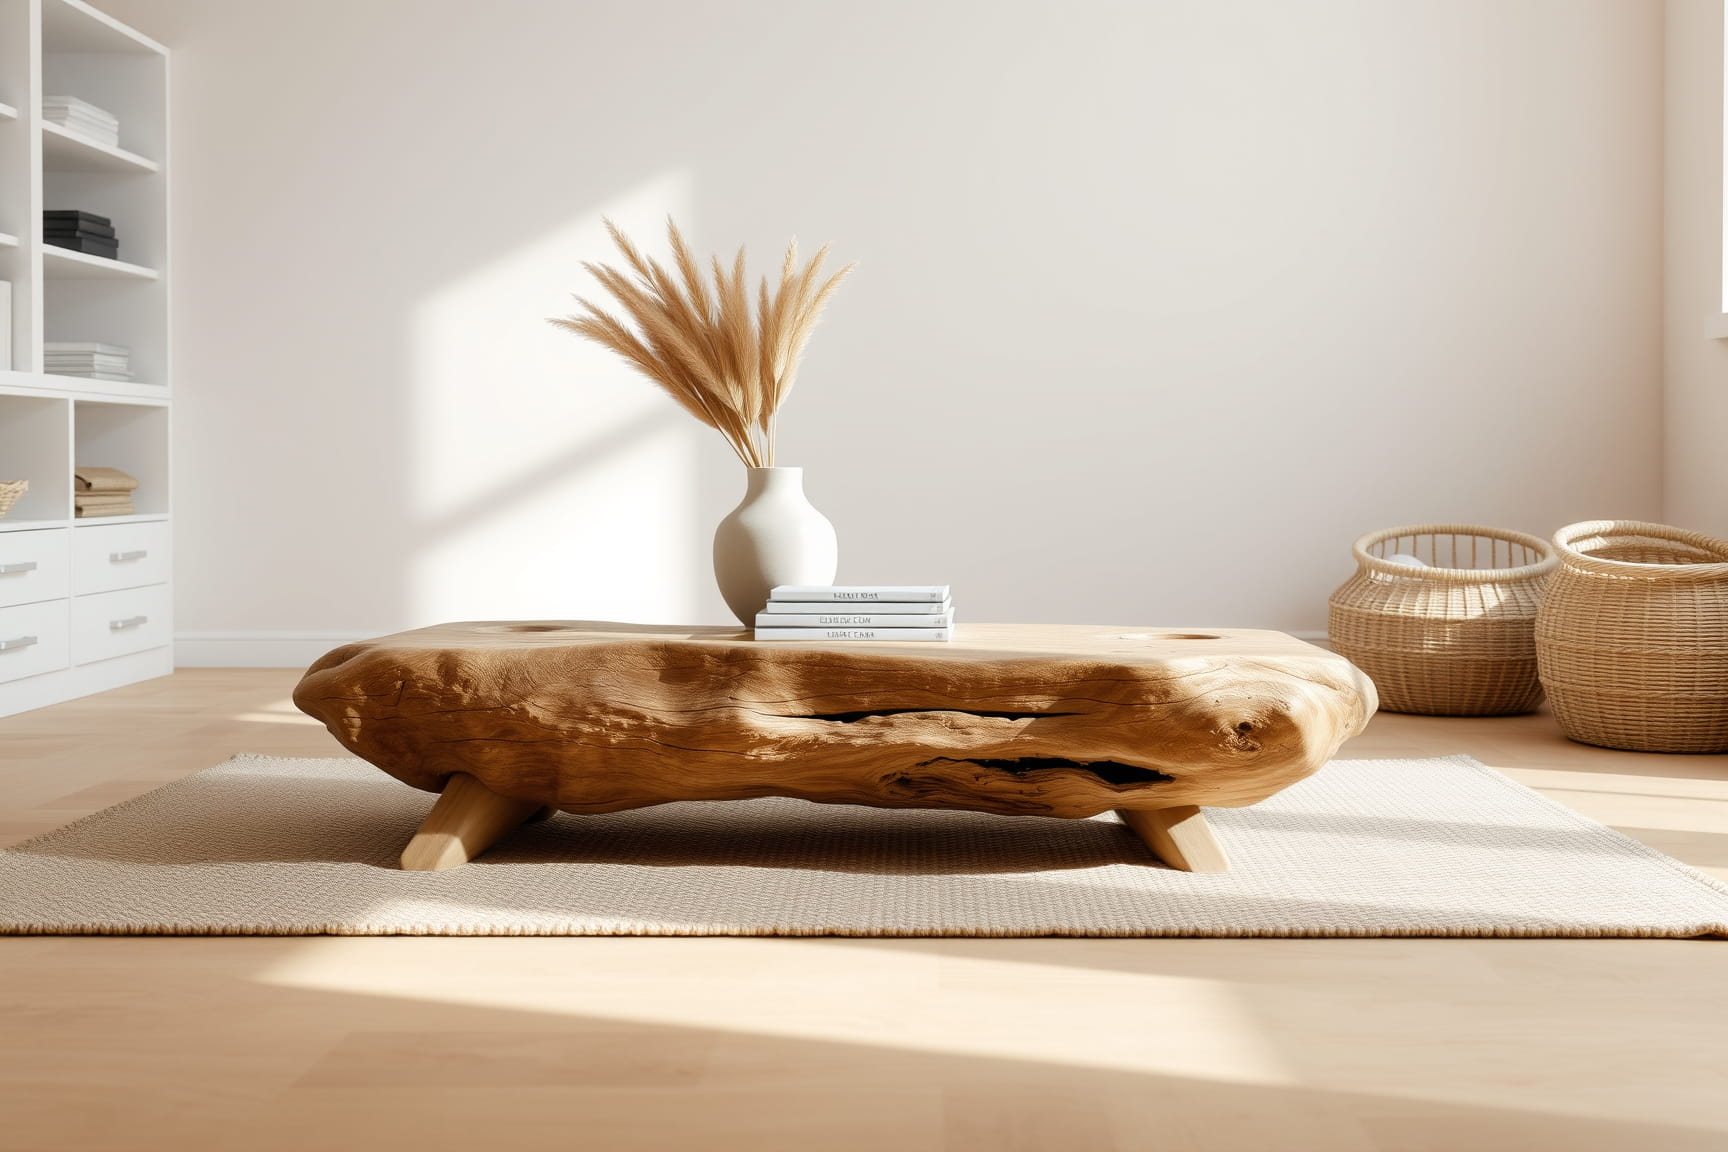
Use Furniture That Pulls Double Duty Without Crowding
In small spaces, furniture often takes up too much room for the storage it provides. This section focuses on using existing furniture more effectively before adding anything new.
Start with one piece of furniture: a bed, sofa, coffee table, or bench. Identify whether it already has hidden storage, open space underneath, or unused surfaces.
If there is under-furniture space, measure the height before storing anything. Items should slide in and out easily without lifting the furniture. Use low-profile bins or flat containers so nothing scrapes or tips.
Only store items here that are used occasionally, not daily. Bedding, off-season clothing, or backup supplies work well. Daily-use items become frustrating when they require bending or moving furniture.
For furniture with drawers or shelves, empty one section and reassess what belongs there. Match contents to how the furniture is used. A living room table should hold living room items, not overflow from other rooms.
Avoid adding storage furniture that blocks walkways or door swing. If it interrupts movement, it will attract piles on top instead of staying organized.
Stop once the furniture supports the room’s function without adding visual bulk. In small spaces, furniture should quietly help, not demand attention.
Contain Open Shelving So It Doesn’t Become Display Clutter
Open shelving is common in small spaces but easily becomes visual overload. This section shows how to organize open shelves so they stay usable and calm.
Choose one open shelf to work on. Remove everything and wipe it clean. Seeing the empty shelf helps define its limits.
Decide what belongs there based on use and tolerance for visibility. Items that are used often and don’t mind being seen work best. Everything else should live behind closed doors.
Group similar items together and limit how many groups appear on one shelf. Too many categories create visual noise even if the shelf is technically organized.
Use matching containers for small items. Uniform shapes reduce visual clutter and make shelves feel less crowded. Avoid filling containers to the top.
Leave intentional empty space. A shelf that is 70–80% full is easier to maintain than one packed edge to edge.
If the shelf looks messy immediately after organizing, remove items rather than rearranging endlessly. Open shelves are honest—they reveal when there’s too much.
Stop when you can scan the shelf quickly and find what you need without touching anything else. That’s the signal it’s working.
Keep Bedroom Storage Focused on Rest, Not Overflow
Bedrooms in small homes often absorb overflow from other rooms. This section focuses on restoring bedroom storage to support rest, not storage sprawl.
Start with one bedroom surface or storage area, such as a nightstand or dresser. Empty it completely so you can see what’s actually there.
Remove anything unrelated to sleeping, dressing, or personal care. Work papers, tools, and random items quietly disrupt rest when stored here.
Return only items that support bedtime or morning routines. Books you’re reading, a lamp, glasses, or medication earn space. Everything else moves out.
In closets or dressers, apply the same rule. Clothing and accessories only. If something belongs elsewhere, don’t solve its storage here.
Limit what stays on nightstands. One or two items plus lighting is enough. Crowded nightstands invite clutter and spills.
Use drawers for containment, not stuffing. If a drawer resists closing, remove items until it slides smoothly.
Stop when the bedroom feels visually quieter, even if storage exists elsewhere. A bedroom that holds fewer categories is easier to maintain and more restful to use.
Manage Shared Spaces With Clear Boundaries
Shared spaces are challenging in small homes because ownership is unclear. This section addresses organizing shared areas so clutter doesn’t accumulate through confusion.
Choose one shared area: a hallway closet, shared shelf, or common table. Clear just that space.
Define boundaries physically. Assign each person a specific shelf, hook, or bin. Physical separation works better than verbal agreements.
Label only if needed to reinforce boundaries. Labels should name the person or function clearly and stay consistent.
Agree on what does not belong in the shared space. Items without a home should not default here. This prevents slow takeover.
Keep shared zones slightly underfilled. When they are full, decisions stall because no one wants to move someone else’s things.
Do not aim for perfect fairness in space. Aim for clarity. When people know what belongs where, clutter reduces naturally.
Stop once items can be returned without discussion or decision-making. Shared spaces work when boundaries are visible and respected without reminders.
Set Simple Reset Rules to Keep Small Spaces Working
Organizing small spaces only lasts if reset is easy. This section focuses on setting minimal rules that prevent re-cluttering.
Choose one space you’ve organized and define how it resets. For example: counters clear at night, shoes back on the mat, papers in the tray.
Keep rules physical and visible. Avoid time-based or emotional rules. The rule should describe where items go, not how you should feel.
Limit resets to one or two actions. If a reset takes more than a minute, it won’t happen consistently.
Build reset points into existing routines. Putting things away before bed or before leaving the house works better than adding new habits.
Accept that clutter will return in small amounts. The goal is fast recovery, not permanence.
Do not add new systems at this stage. Use what already exists until it fails.
Stop once you know exactly how to bring the space back to functional without thinking. That’s enough structure for a small space to stay usable.